One of the biggest mistakes Photoshop beginners make is removing every imperfection they see. While the result may look smooth at first, it often creates an artificial appearance that immediately reveals the image has been heavily edited. Natural skin retouching is not about creating perfect skin. It is about reducing distractions while preserving the texture, character, and realism of the original portrait.
If you’re learning photo retouching techniques, this tutorial complements the resources available in the Photo Editing category and works alongside the tools explained in the Photoshop Healing Tools hub.
Table of contents
What Makes Skin Look Natural?
Before opening Photoshop, it helps to understand what natural skin actually looks like.
Real skin contains:
- pores
- fine texture
- subtle color variation
- small imperfections
Removing all of these details usually makes a portrait look unrealistic.
Professional retouching focuses on temporary distractions such as:
- acne
- dust spots
- small scratches
- minor blemishes
while preserving permanent features that give a face its character.
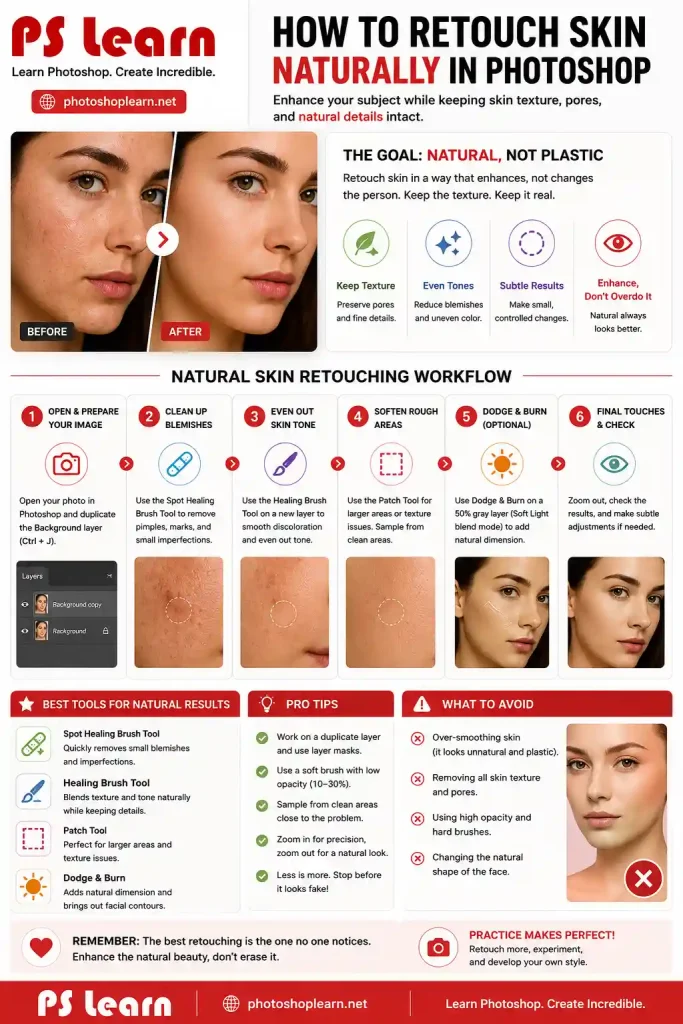
A Simple Natural Retouching Process
Objective
Reduce temporary imperfections while maintaining realistic skin texture.
Recommended Approach
- Duplicate the original layer.
- Zoom in to 100%.
- Remove small blemishes first.
- Refine larger problem areas.
- Review the image at normal viewing size.
The goal is improvement, not perfection.
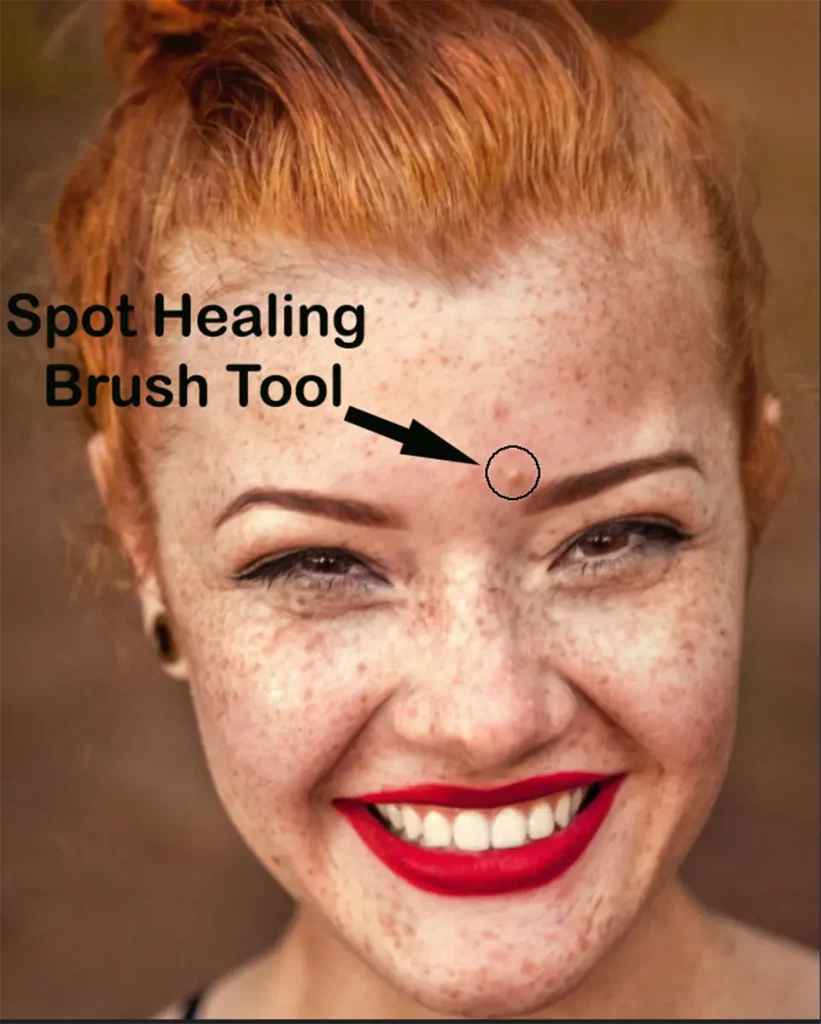
A_ Remove Small Blemishes
For quick corrections, use the Spot Healing Brush Tool.
Small acne spots and temporary skin marks can often be removed with a single click.
The advantage of this tool is speed, but it should be used carefully. Excessive use can soften skin texture unnecessarily.
B_ Repair Areas That Need More Control
Some imperfections require manual correction.
For these situations, the Healing Brush Tool often produces better results because you control where Photoshop samples texture.
This is especially useful when working near:
1_ eyes
2_ lips
3_ facial contours
4_ detailed skin texture
C_ Correct Larger Skin Areas
Sometimes uneven skin texture extends beyond a small blemish.
In these situations, the Patch Tool can help blend larger areas while preserving surrounding detail.
Rather than painting, you select the problem area and replace it with texture from a cleaner section of skin.
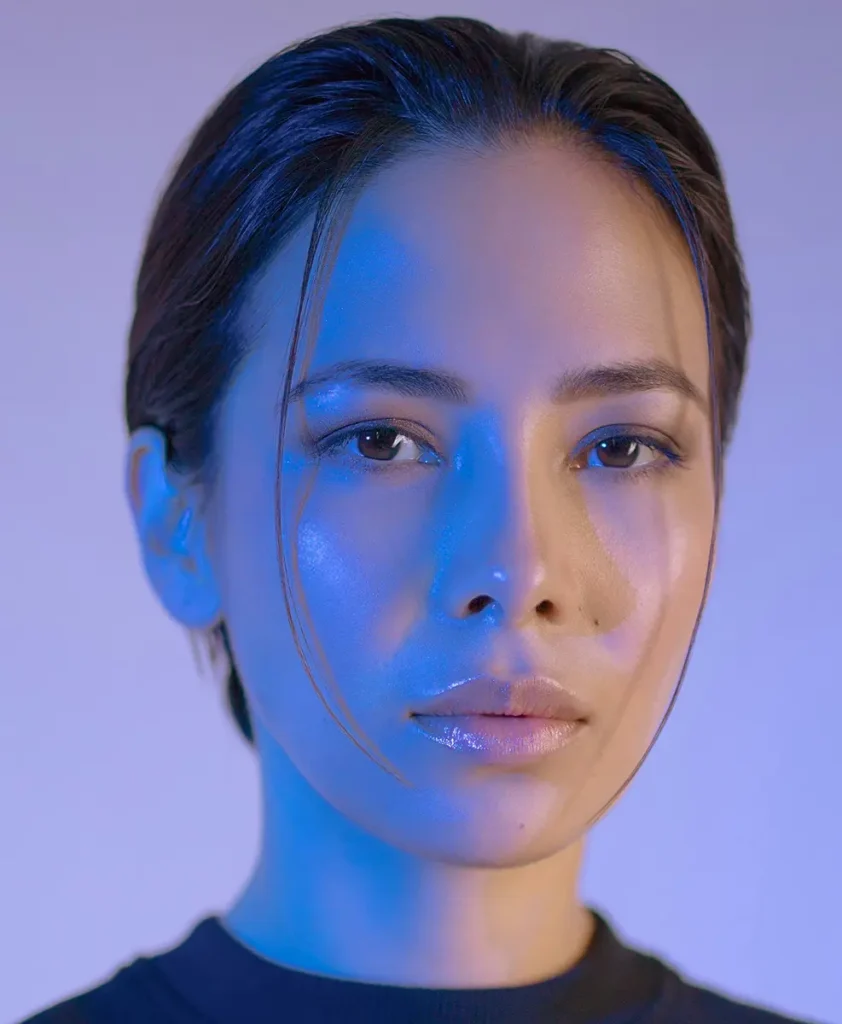
Real-World Example: Retouching a Portrait
Imagine you are editing a headshot for a professional profile.
The subject has:
- a few temporary blemishes
- minor skin redness
- slight uneven texture
A natural workflow might look like this:
- Spot Healing Brush for small blemishes.
- Healing Brush for detailed corrections.
- Patch Tool for larger texture inconsistencies.
- Final review at normal zoom level.
Notice that none of these steps involve removing all skin texture.
That is often the difference between amateur retouching and professional retouching.
Why Over-Retouching Creates Problems
Many beginners judge their edits while zoomed in at 300% or 400%.
At those magnifications, every pore appears huge.
As a result, they continue editing long after the image looks natural.
A better habit is to frequently zoom out and evaluate the entire portrait.
If the first thing you notice is the retouching itself, the edit has probably gone too far.
Common Signs of Unnatural Retouching
Skin Looks Plastic
Too much healing and smoothing can remove important texture.
Repeating Patterns Appear
Poor sampling often creates visible texture repetition.
Facial Features Lose Character
Removing permanent details can make portraits feel unnatural.
When to Stop Retouching
A useful rule is simple:
If the viewer notices the person instead of the retouching, you are probably finished.
Natural retouching should support the portrait rather than become the focus of attention.
Building Better Retouching Skills
Good retouching is less about knowing a single tool and more about understanding when to use different tools together.
The combination of:
1_ Spot Healing Brush
2_ Healing Brush
3_ Patch Tool
often produces better results than relying on only one method.
As your skills improve, you’ll spend less time trying to remove every detail and more time deciding which details should remain.
What You Should Remember
Natural skin retouching is a balancing act between correction and realism. The goal is not flawless skin but believable skin.
By preserving texture, avoiding excessive smoothing, and using healing tools strategically, you can create portraits that look polished without looking edited.
Sources