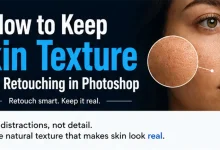
Photoshop includes several contrast blend modes, but two of the most commonly used are Overlay and Soft Light. At first glance they may look similar because both increase contrast and interact with highlights and shadows. However, they produce very different results depending on the image and editing workflow.
Understanding the difference between these two blend modes is important for photo retouching, cinematic color grading, texture blending, and creative effects.
If you are still learning how blend modes work in Photoshop, you can start with the main guide to Photoshop Blend Modes and continue practicing with tutorials from the Photo Editing category.
Topics
- What Do Overlay and Soft Light Actually Do?
- Overlay vs Soft Light: Quick Comparison
- A Practical Project: Portrait Retouching
- Practical Project 2: Creating Dramatic Cinematic Contrast
- Using Overlay for Texture Blending
- When Soft Light Is the Better Choice
- Common Beginner Mistakes
- Which Blend Mode Should You Choose?
- Final Thoughts
What Do Overlay and Soft Light Actually Do?
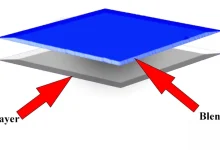
Both blend modes belong to Photoshop’s contrast group. They darken darker pixels and brighten lighter pixels while preserving midtones.
However, the intensity of the effect is different.

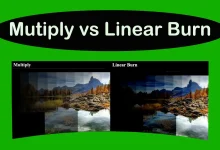
Overlay
Overlay creates a stronger and more dramatic contrast effect. It increases highlights and shadows aggressively, making images appear sharper and more vivid.
Soft Light
Soft Light creates a gentler and more natural contrast adjustment. Instead of dramatic changes, it produces smoother transitions and softer lighting effects.
Overlay vs Soft Light: Quick Comparison
| Blend Mode | Result | Best For |
| Overlay | Strong contrast | Dramatic effects, textures, cinematic edits |
| Soft Light | Subtle contrast | Portraits, skin retouching, natural lighting |
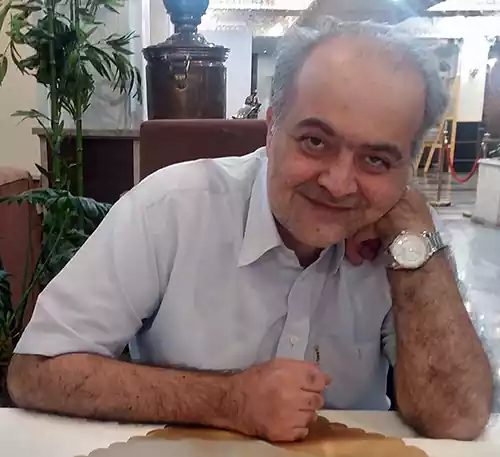
A Practical Project: Portrait Retouching
Goal:
Improve contrast and depth without making skin look harsh.
Workflow:
- Duplicate the image layer.
- Create a new layer above the photo.
- Fill the layer with 50% gray.
- Change the layer blend mode to Soft Light.
- Use a soft white brush to brighten areas and a soft black brush to darken areas.
- Lower the layer opacity if the effect becomes too strong.
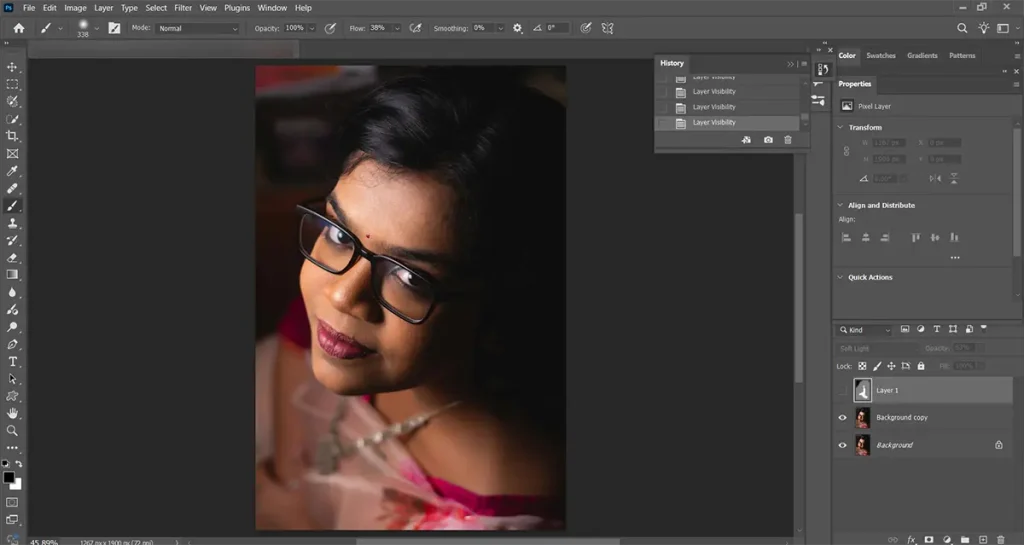
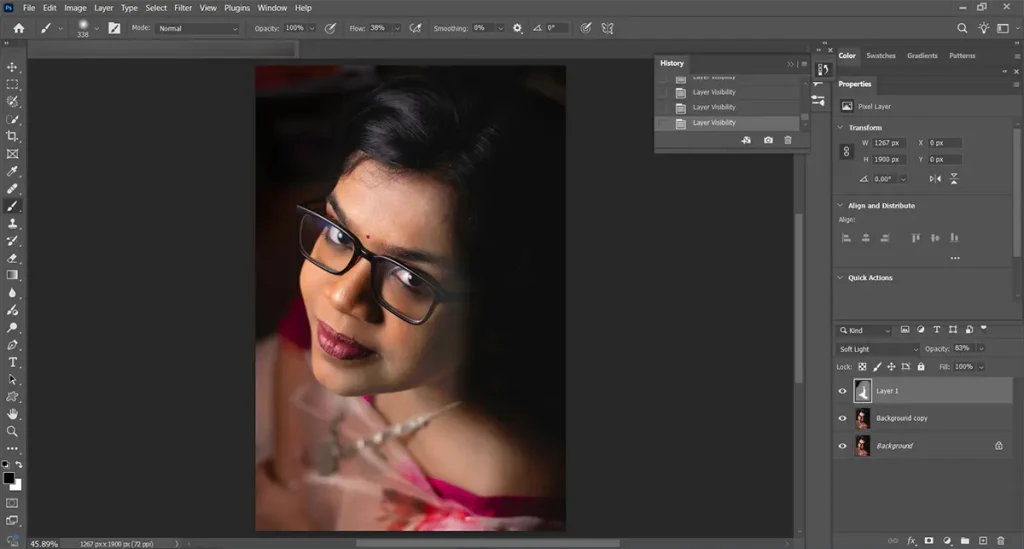
Why Soft Light Works Better
Portraits usually need smooth tonal transitions. Overlay can easily make skin texture look too sharp or unnatural, especially on close-up portraits.
Soft Light produces a more natural and realistic result, which is why many retouchers prefer it for skin work.
If you are interested in retouching workflows and repair techniques, explore the Photoshop Healing Tools hub.
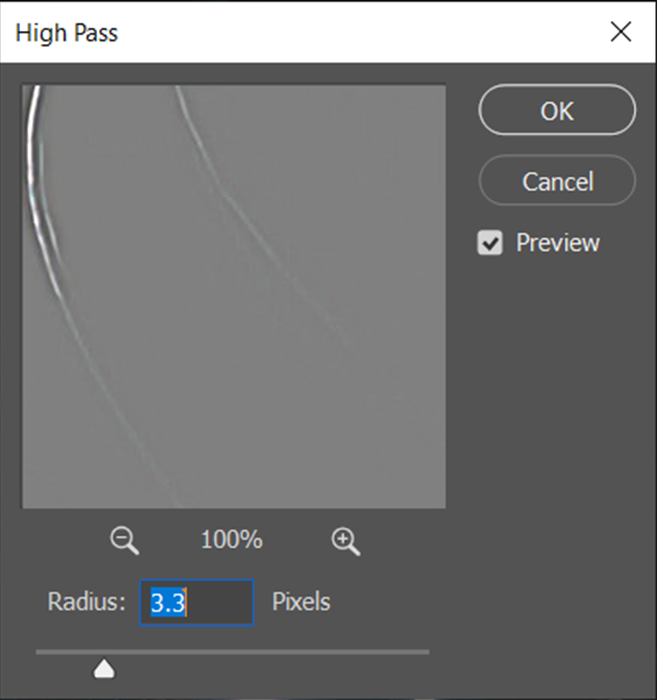
Practical Project 2: Creating Dramatic Cinematic Contrast
Goal:
Create a bold cinematic look with stronger shadows and highlights.
Workflow:
- Duplicate your image layer
- Apply a high-pass to duplicate layer
- Set the blend mode to Overlay
- Adjust opacity for balance
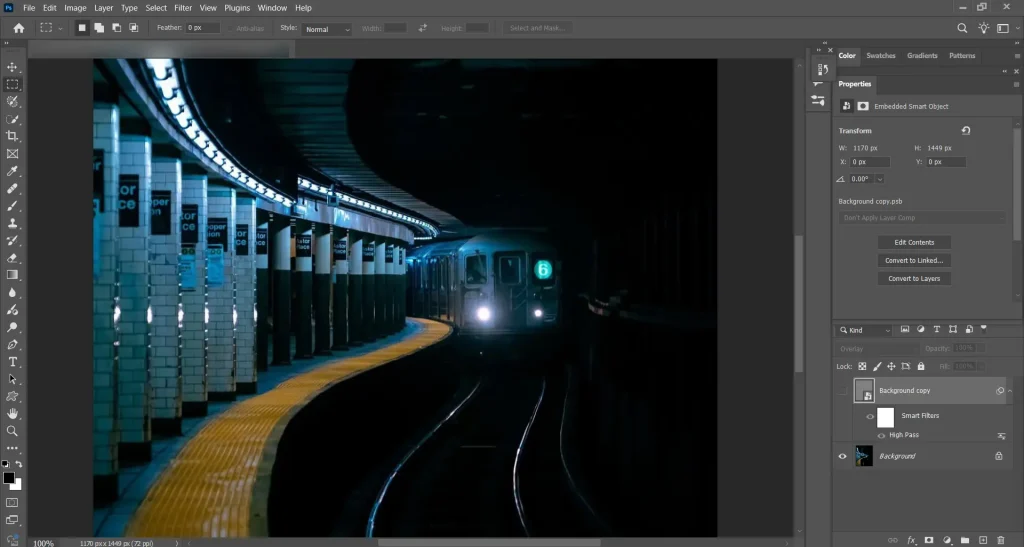
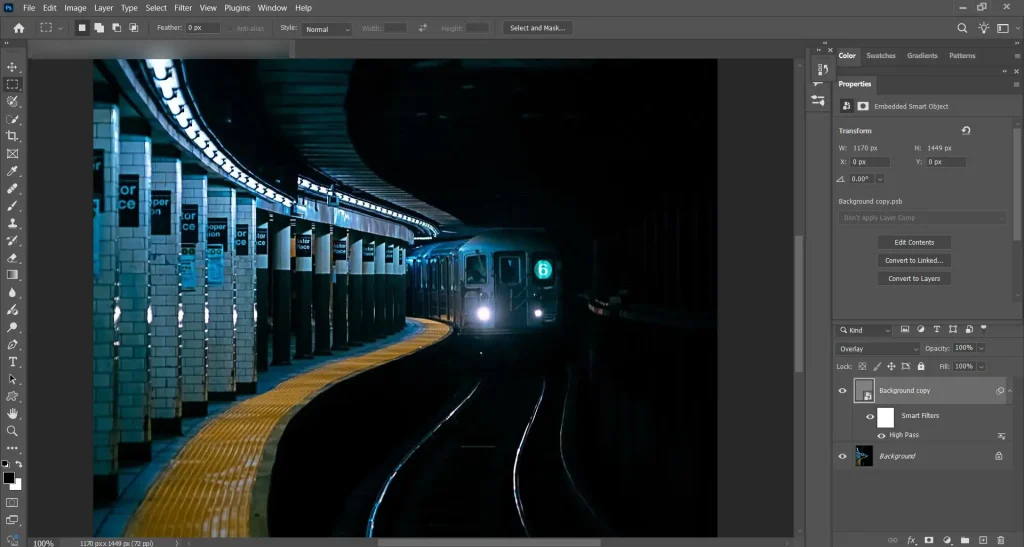
Why Overlay Works Better
Overlay creates stronger separation between highlights and shadows, making the image appear more dramatic and energetic.
This makes it popular for:
1_ cinematic edits
2_ sports photography
3_ texture overlays
4_ poster effects
Using Overlay for Texture Blending
One of the most popular uses of Overlay is combining textures with photos.
Example:
Adding a grunge texture to a portrait.
A_ Place texture above the image
B_ Change blend mode to Overlay
C_ Lower opacity if necessary
Overlay preserves texture detail while still allowing the original image to remain visible.
When Soft Light Is the Better Choice
Soft Light works better when subtlety matters.
Best uses:
- portrait enhancement
- soft color grading
- atmospheric lighting
- gentle dodge and burn
Because the effect is softer, it is easier to maintain realistic-looking edits.
Common Beginner Mistakes
Using Overlay Too Aggressively
Many beginners use Overlay at 100% opacity, which often creates unnatural contrast and oversaturated colors.
Better approach:
Start around 20–50% opacity and increase gradually.
Using Soft Light for Dramatic Effects
Soft Light is subtle by design. If you want a bold cinematic result, Overlay is usually more effective.
Ignoring Image Type
Different photos respond differently to blend modes.
- Portraits usually work better with Soft Light
- Textures and dramatic edits often benefit from Overlay
Which Blend Mode Should You Choose?
Choose Overlay when you want:
- stronger contrast
- sharper visual impact
- dramatic edits
- texture enhancement
Choose Soft Light when you want:
- natural contrast
- smooth tonal transitions
- realistic portraits
- subtle enhancement
The best choice depends on the editing goal, not just the blend mode itself.
Final Thoughts
Overlay and Soft Light may belong to the same blend mode category, but they serve very different creative purposes. Understanding when to use each one is more valuable than simply memorizing what they do.
Instead of treating blend modes as isolated features, think of them as part of a larger editing workflow. Small adjustments in opacity, texture, and layer interaction can completely change the final result.
The more you experiment with real projects, the easier it becomes to recognize which blend mode fits the mood and style you want to create.
Sources
https://help.procreate.com/procreate/handbook/