
Photoshop Healing Tools: Fix Imperfections the Smart Way
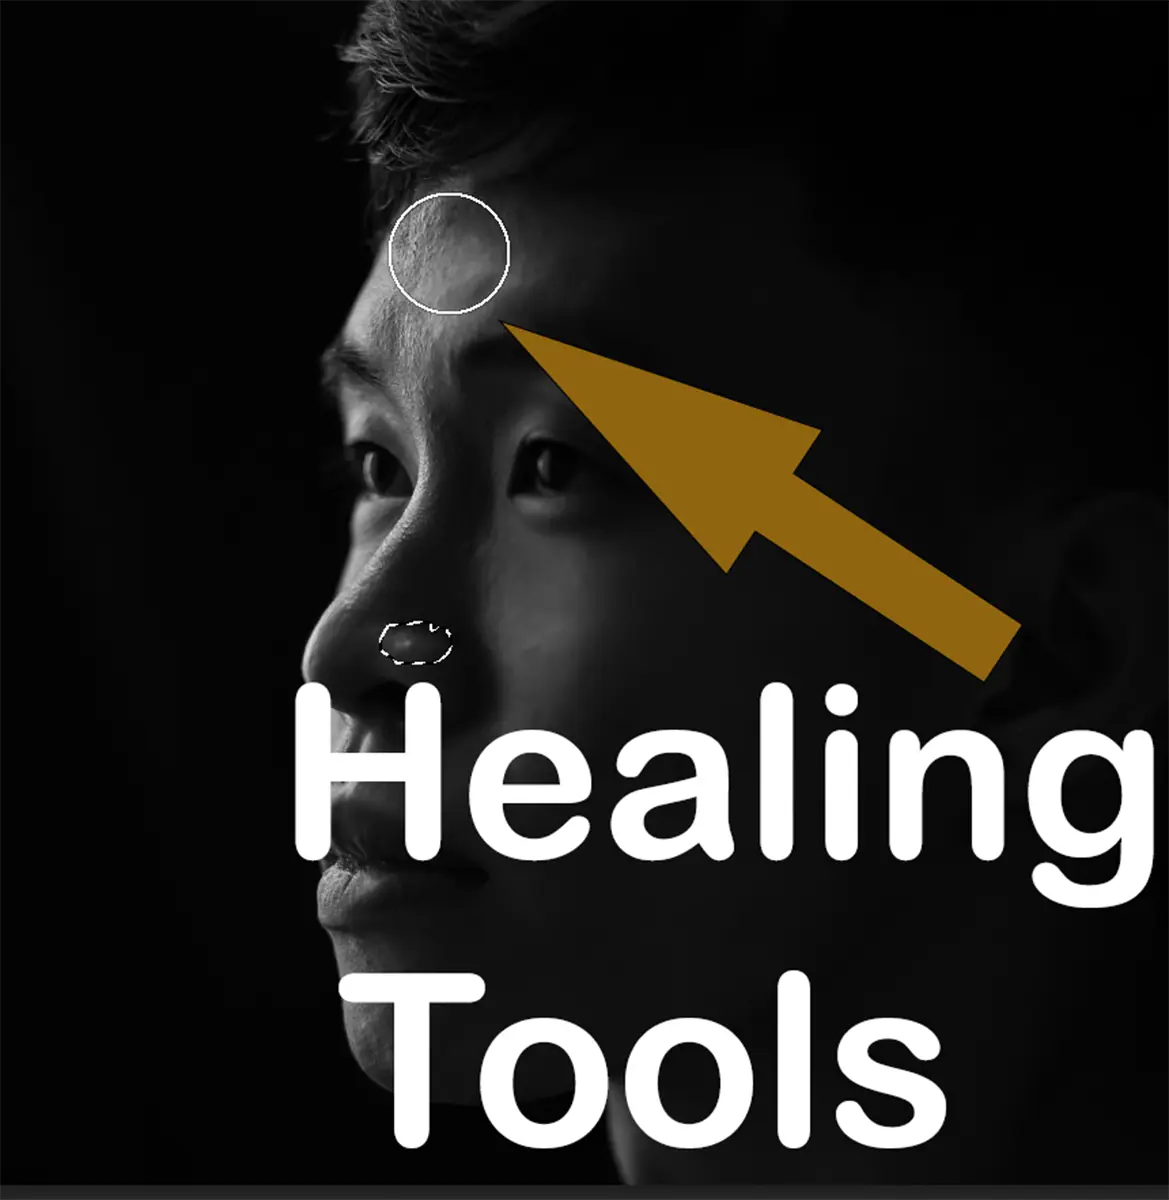
Healing tools in Photoshop are designed to remove imperfections while preserving natural texture. Whether you’re retouching a portrait, fixing dust spots, or cleaning up distractions, these tools help you blend edits seamlessly into the image.
If you’re just getting started with Photoshop tools, you can explore where these tools are located and how they fit into the interface in the Photoshop Toolbar.
For a structured learning path, they are also part of the workflow covered in the Photoshop Beginner Guide.
Topics
What Are Healing Tools?
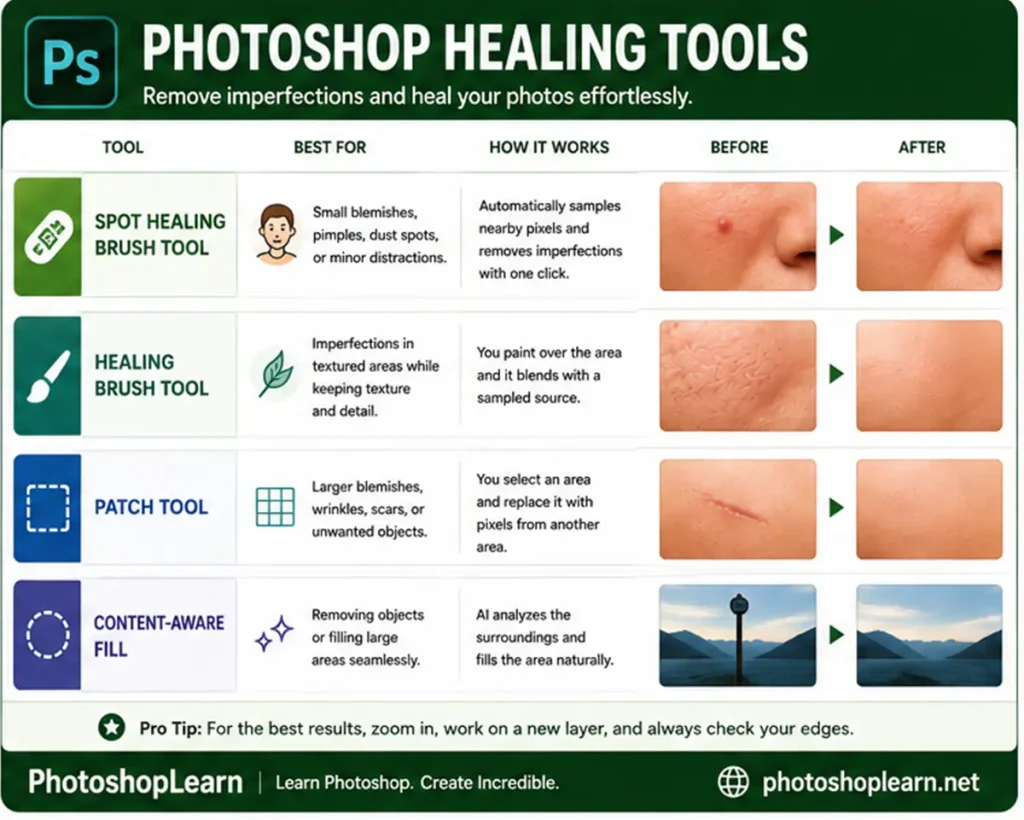
Healing tools are different from basic editing tools because they don’t just copy pixels — they analyze surrounding texture, lighting, and color to create a natural-looking result.
Main Healing Tools in Photoshop:
- Spot Healing Brush Tool
- Healing Brush Tool
- Patch Tool
- Content-Aware Fill
Each tool solves a different type of problem. Understanding when to use each one is more important than memorizing how they work.
When Should You Use Healing Tools?
Use healing tools when you need to:
1_ Remove skin blemishes
2_ Clean up dust or scratches
3_ Fix small distractions in photos
4_ Retouch product images
Avoid using them for:
1_ Large object removal (better with Content-Aware Fill or cloning techniques)
2_ Complex backgrounds with repeating patterns
Real Workflow: Portrait Retouching
Let’s walk through a practical example using healing tools.
Goal: Remove skin imperfections while keeping natural texture
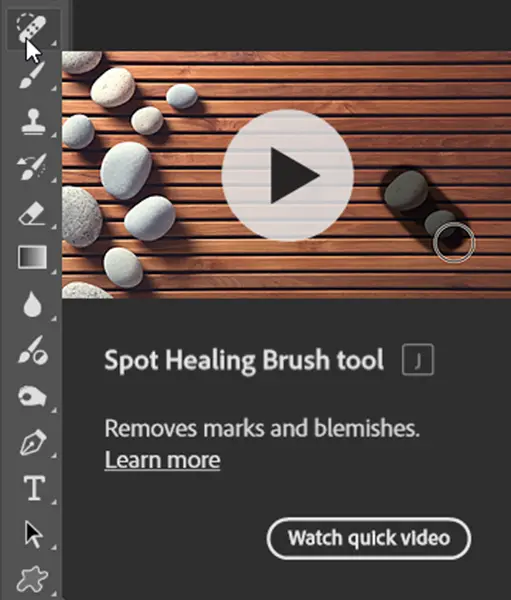
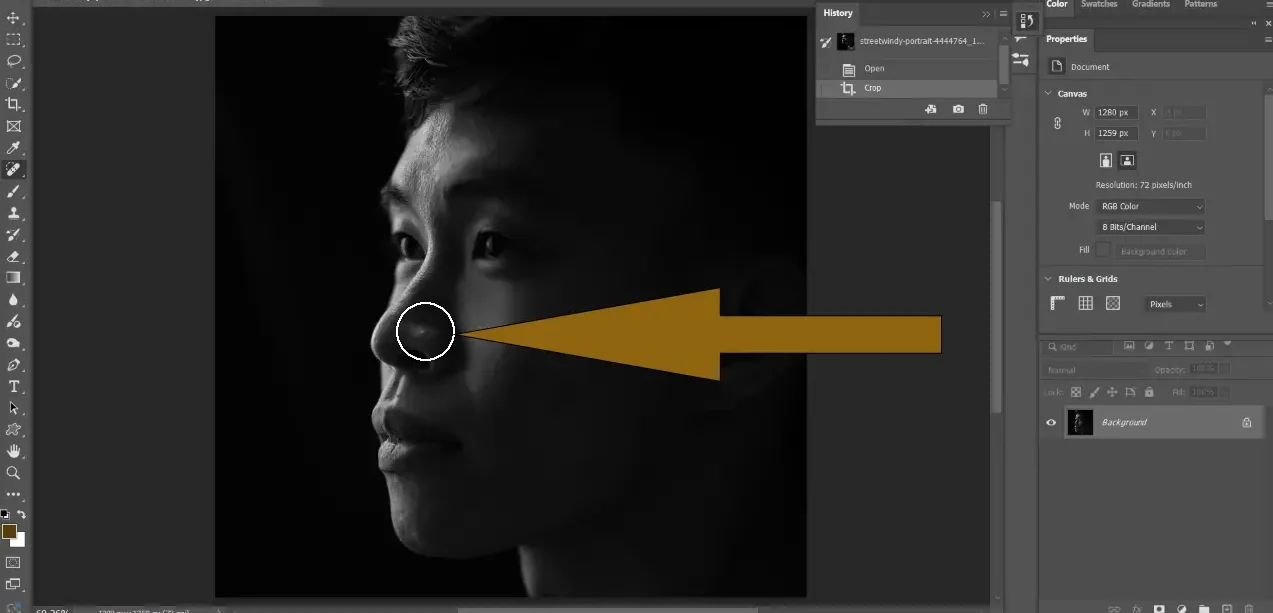
Step 1: Use Spot Healing Brush
- Select the Spot Healing Brush Tool
- Click on small blemishes
- Photoshop automatically blends the area
Best for quick fixes
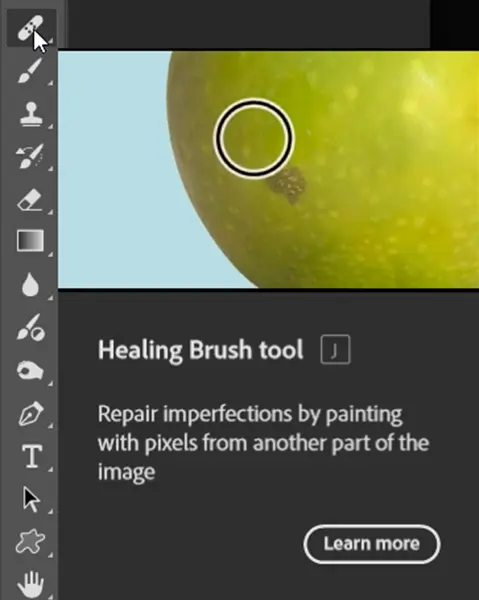
Step 2: Use Healing Brush for Control
- Alt-click (Option-click) to sample clean skin
- Paint over imperfections
Better control over texture and tone
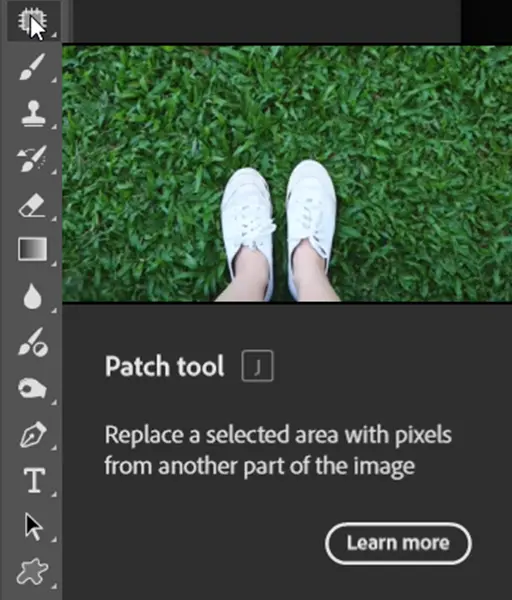
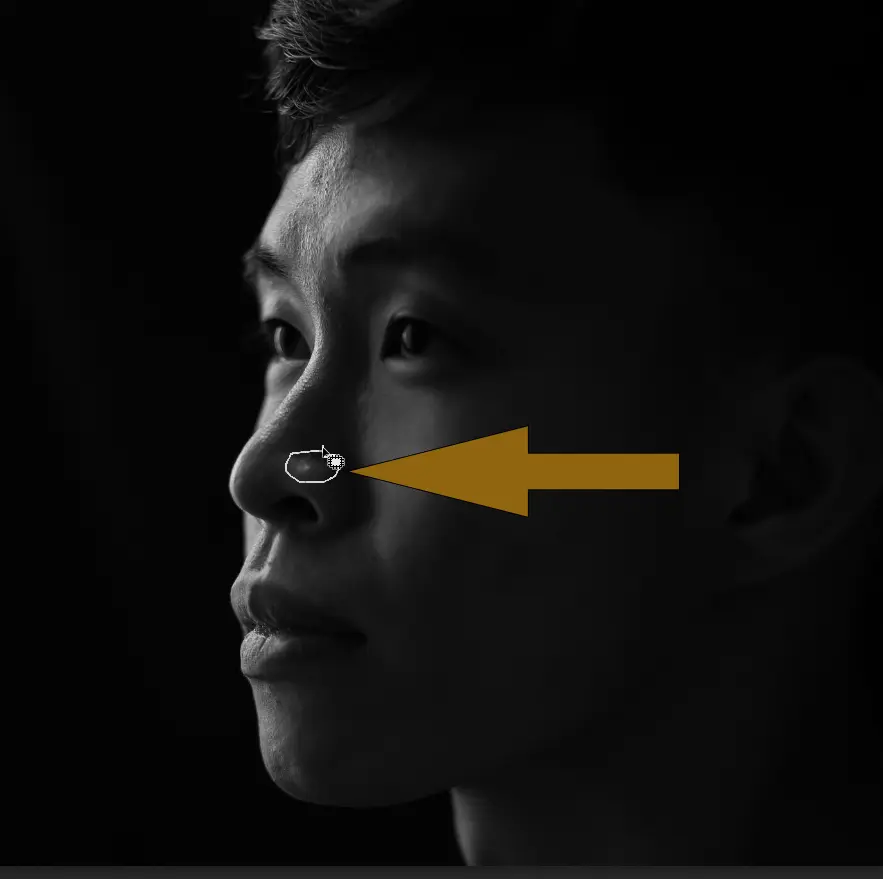
Step 3: Use Patch Tool for Larger Areas
- Draw a selection around the problem area
- Drag to a clean area
The Patch Tool is perfect for removing wrinkles or uneven patches
Step 4: Refine with Content-Aware Fill
- Select larger unwanted elements
- Go to Edit → Content-Aware Fill
- Adjust sampling area
Ideal for background cleanup.
Learning the tools is important, but knowing when to use them is what produces professional results. See How to Retouch Skin Naturally in Photoshop to learn a practical workflow that combines Spot Healing Brush, Healing Brush, and Patch Tool techniques
Choosing the Right Tool
| Situation | Best Tool |
| Small blemishes | Spot Healing Brush |
| Controlled retouching | Healing Brush |
| Medium areas | Patch Tool |
| Larger objects | Content-Aware Fill |
The key is not using one tool for everything, but combining them in a smart workflow.
Not sure which healing tool you should use? This detailed comparison of Difference Between Healing Tools in Photoshop explains the strengths and weaknesses of each tool.
Common Mistakes to Avoid
1. Over-retouching
Removing too much detail makes skin look unnatural.
2. Ignoring texture
Always preserve natural texture—this is what makes healing tools powerful.
3. Using the wrong tool
Each tool has a purpose. Choosing incorrectly leads to poor results.
Pro Tips for Better Results
1_ Work on a duplicate layer (non-destructive editing)
2_ Zoom in for detail work
3_ Use small brush sizes for precision
4_ Combine healing tools with selection tools when needed
Practical Project: Clean Product Photo
Goal: Remove dust and scratches from a product image
Steps:
- Use Spot Healing for tiny dust spots
- Use Patch Tool for larger scratches
- Use Content-Aware Fill for background cleanup
Result: A clean, professional-looking product image ready for e-commerce.
How Healing Tools Fit Into Your Workflow
Healing tools are usually used after making selections and before final adjustments.
A typical workflow:
- Make a selection (subject or area)
- Clean imperfections using healing tools
- Apply color or lighting adjustments
- Export final image
This structured approach is explained step-by-step in the Photoshop Beginner Guide.
Conclusion
Healing tools are essential for anyone who wants to create clean, professional images. They are not just about removing flaws—they are about doing it in a way that looks natural and invisible.
Instead of relying on one tool, focus on understanding how each one fits into your editing workflow. That’s what separates beginner edits from professional results.
For a complete understanding of how these tools fit into Photoshop’s interface, revisit the Photoshop Toolbar and continue building your skills step by step.