Difference Between Healing Tools in Photoshop
Which One Should You Use?
Photoshop includes several healing tools that can remove imperfections, repair textures, and clean up distracting areas in an image. While many beginners think these tools do the same thing, each one is designed for a different type of editing task. Understanding the difference between them is important because choosing the wrong tool can lead to blurry textures, unrealistic skin, or visible retouching marks.
If you are still learning where these tools are located and how they fit into Photoshop’s interface, you can explore the Photoshop Toolbar.
You can also continue practicing through the tutorials available in Basic Photoshop Tutorials for Beginners.
Topics
What Makes Healing Tools Different?
Healing tools are designed to repair images while preserving natural texture and blending the correction into the surrounding area.
However, the way each tool works is different:
- Some tools work automatically
- Some require manual sampling
- Some are better for small imperfections
- Others work better for larger repairs
The key is understanding when to use each one.
For a complete overview of retouching workflows and related tools, visit the Photoshop Healing Tools.


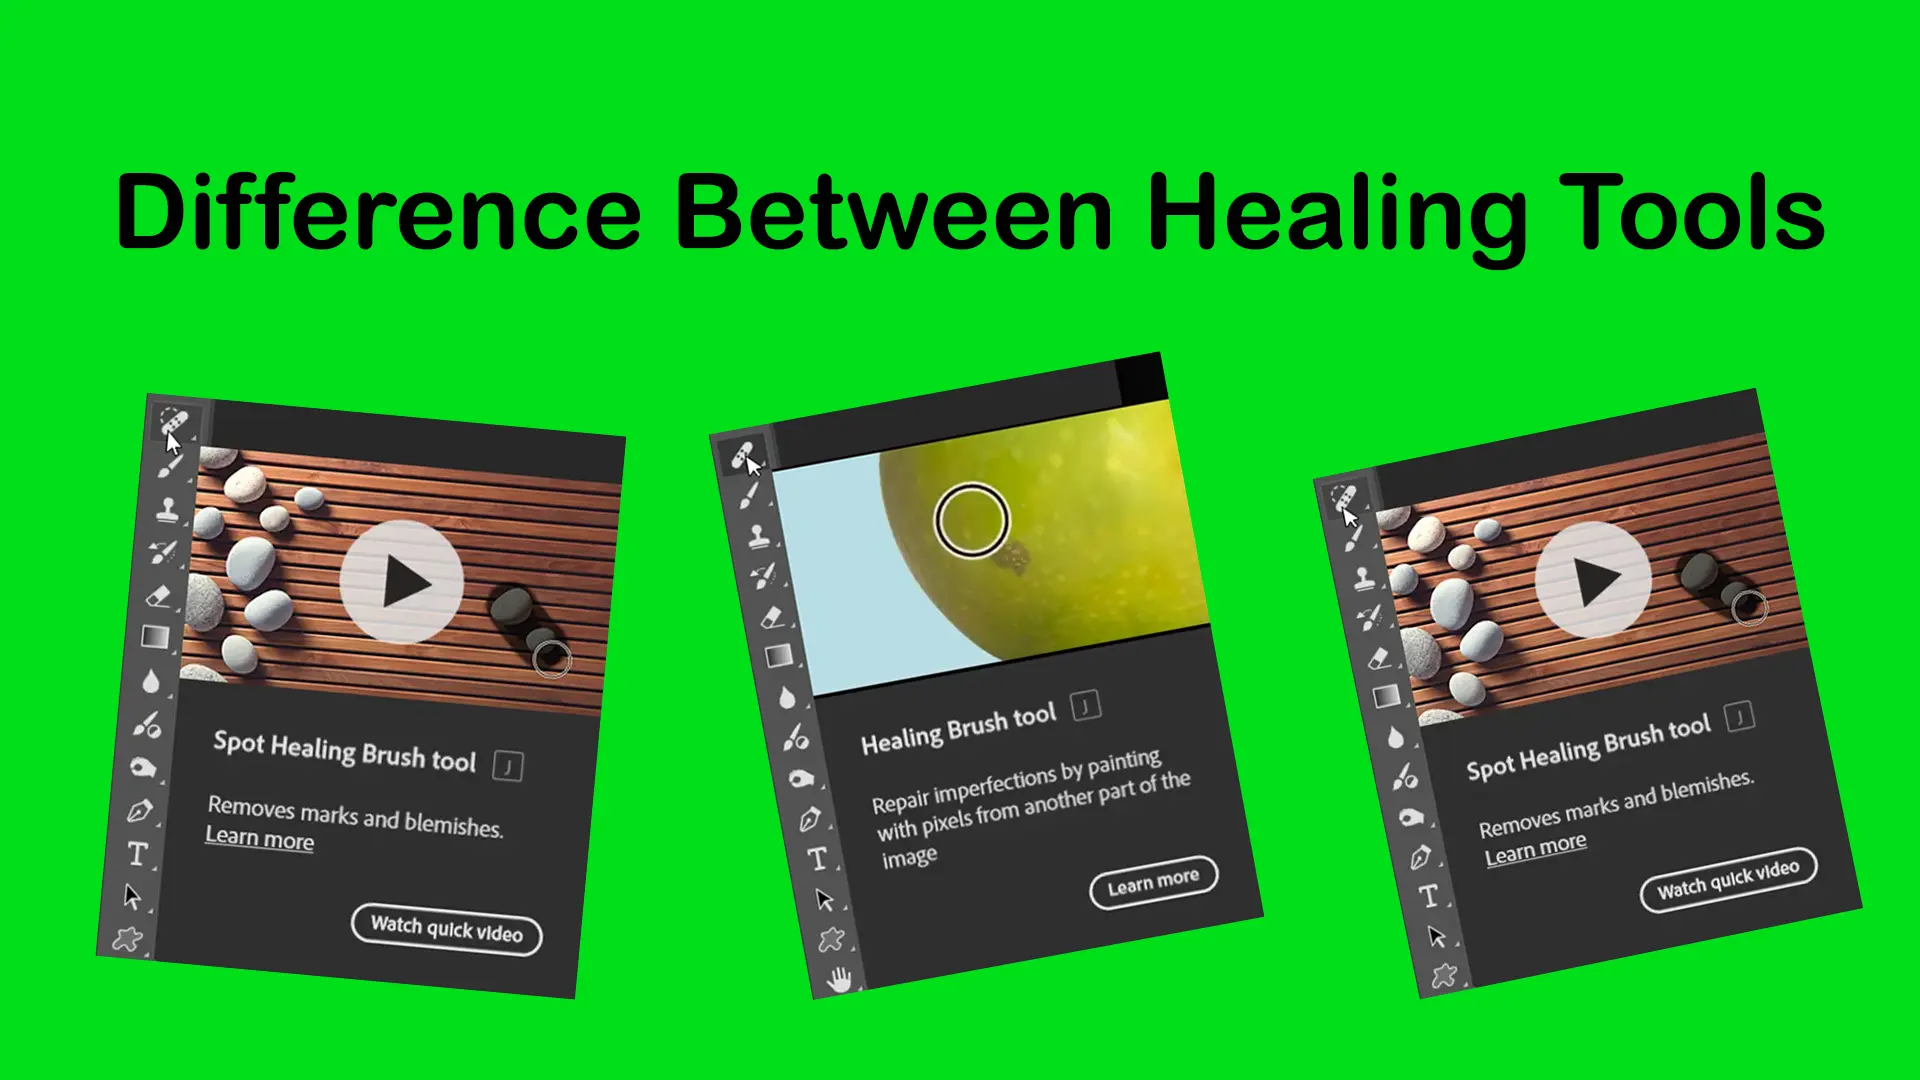
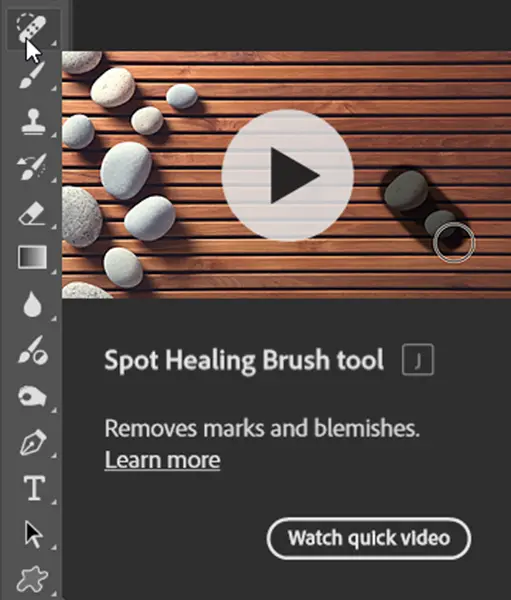
Spot Healing Brush Tool
The Spot Healing Brush Tool in Photoshop is the fastest and easiest healing tool.
Photoshop automatically samples nearby pixels and blends the correction for you.
Best for:
- Small skin blemishes
- Dust spots
- Tiny distractions
Weakness:
Because it works automatically, you have less control over texture sampling.
Best choice for quick edits and beginners.
Healing Brush Tool
The Healing Brush Tool in Photoshop gives you more control because you manually choose the sample area.
Instead of letting Photoshop decide everything automatically, you tell Photoshop which texture should be used.
Best for:
- Professional skin retouching
- Texture repair
- Controlled corrections
Weakness:
Requires more time and precision.
📌 Best choice when natural-looking texture is important.
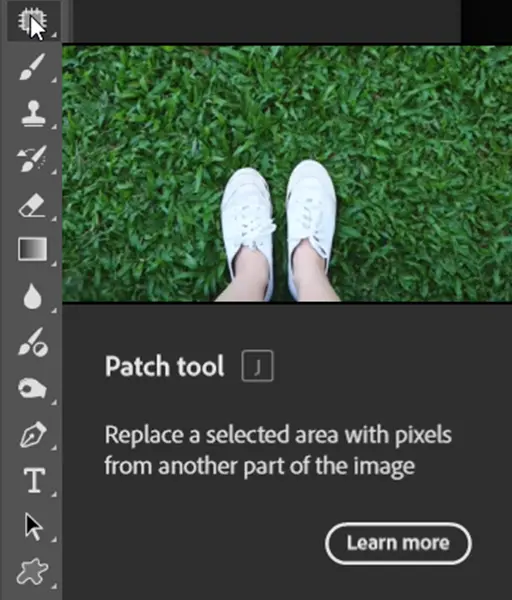
Patch Tool
The Patch Tool in Photoshop is designed for repairing medium-sized areas using a selection-based workflow.
Instead of painting with a brush, you select a problem area and drag the selection to a cleaner texture area.
✔ Best for:
- Clothing wrinkles
- Uneven skin areas
- Medium-sized distractions
Weakness:
Not ideal for tiny details or edge work.
Best choice for quickly repairing larger textures.
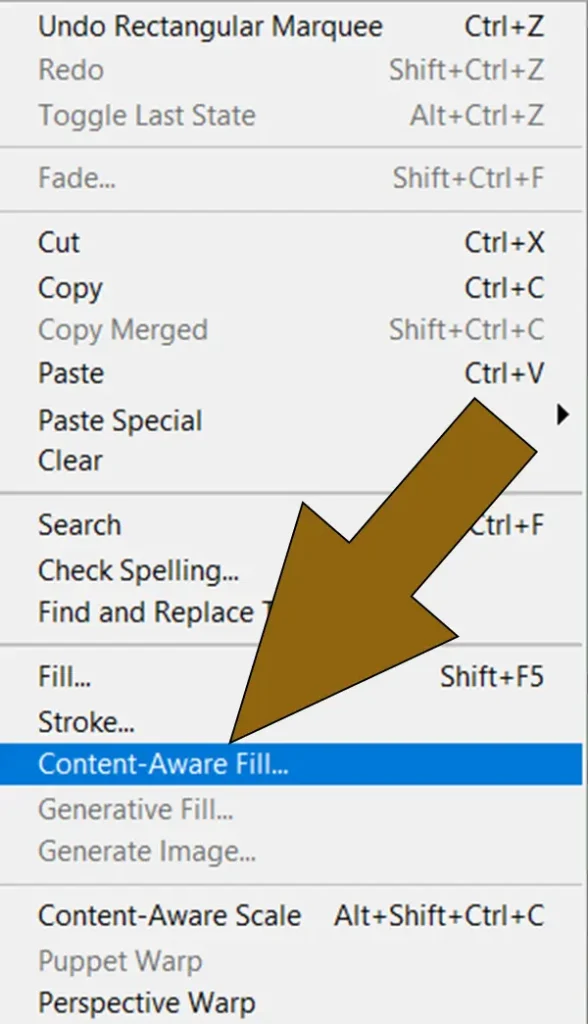
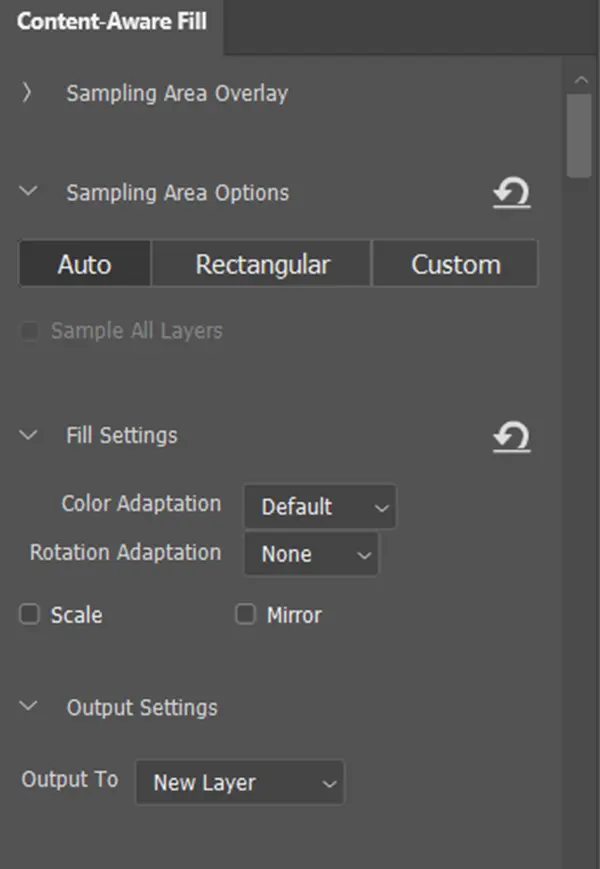
Content-Aware Fill
Content-Aware Fill works differently from the other healing tools. It is designed for removing larger unwanted objects and rebuilding missing areas automatically.
✔ Best for:
- Removing people or objects
- Cleaning backgrounds
- Reconstructing larger areas
Weakness:
Can produce unrealistic results in complex scenes.
Best choice for larger cleanup tasks.
Quick Comparison Table
| Tool | Best For | Control Level | Difficulty |
| Spot Healing Brush | Small blemishes | Low | Easy |
| Healing Brush | Professional retouching | High | Medium |
| Patch Tool | Medium repairs | Medium | Easy |
| Content-Aware Fill | Object removal | Medium | Medium |
A Practical Retouching Workflow
Professional retouching usually combines several healing tools instead of relying on just one.
Example Workflow:
Step 1 — Spot Healing Brush
Remove tiny blemishes and dust spots quickly.
Step 2 — Healing Brush
Refine skin texture and repair detailed imperfections.
Step 3 — Patch Tool
Fix wrinkles, uneven areas, or damaged textures.
Step 4 — Content-Aware Fill
Remove larger distractions from the background.
This layered workflow produces cleaner and more natural results than using a single tool alone.
Now that you understand the strengths of each healing tool, see How to Retouch Skin Naturally in Photoshop to learn how these tools work together in a complete portrait-retouching workflow.
Common Beginner Mistakes
A_ Using one tool for everything
Each healing tool solves a different problem.
B_ Over-retouching skin
Removing all texture makes edits look artificial.
C_ Ignoring lighting consistency
Sampling from areas with different lighting creates visible edits.
Which Healing Tool Should Beginners Start With?
For most beginners:
- Start with Spot Healing Brush
- Learn Healing Brush for better control
- Add Patch Tool for larger repairs
- Use Content-Aware Fill for object removal
This order helps build retouching skills gradually without becoming overwhelming.
Final Thoughts
Healing tools are not just about removing imperfections — they are about preserving realism while improving the image.
The biggest difference between beginner and advanced retouching often comes down to tool selection. Knowing when to use each tool will make your edits cleaner, faster, and much more natural-looking.
Instead of depending on a single tool, focus on building a workflow that combines multiple healing techniques together.
Sources