Magic Wand Tool in Photoshop
How to Select by Color (Beginner-Friendly Guide)

The Magic Wand Tool is designed to select areas of similar color and tone with a single click.
It’s one of the fastest ways to isolate simple backgrounds, flat colors, or large areas with minimal texture.
In this guide, you’ll learn:
- What the Magic Wand Tool does
- How to use it correctly
- When it works best (and when it doesn’t)
- Common mistakes beginners make
- A real mini project you can practice today
Table of contents
What Is the Magic Wand Tool?
The Tool selects pixels based on color similarity.
When you click on an area, Photoshop automatically selects nearby pixels that match that color within a certain tolerance range.
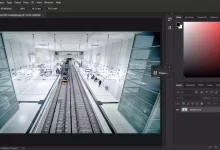
This tool works best on:
- Simple backgrounds
- Solid colors
- High-contrast areas
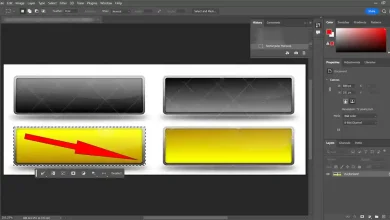
- Flat illustrations and graphics
It does not work well on:

- Hair
- Complex textures
- Busy or low-contrast backgrounds
How to Use the Magic Wand Tool (Step by Step)
1_ Select the Magic Wand Tool from the Toolbar
2_ In the options bar, adjust Tolerance
- Lower value = more precise selection
- Higher value = broader selection
3_ Turn Contiguous on or off - On = selects only touching areas
- Off = selects similar colors across the entire image
4_ Click on the area you want to select
5_ Hold Shift to add more areas to your selection
6_ Use Alt / Option to remove unwanted parts
Pro tip for beginners:
Start with a low tolerance, then slowly increase it until the selection looks right.

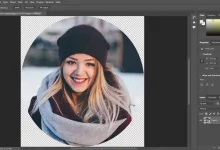
When Should You Use the Magic Wand Tool? (Real Use Cases)
Use the Tool when:
- You want to remove a solid background quickly
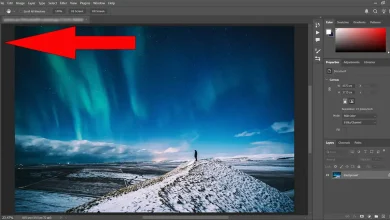
- You’re selecting skies with clear color separation
- You’re editing flat design elements
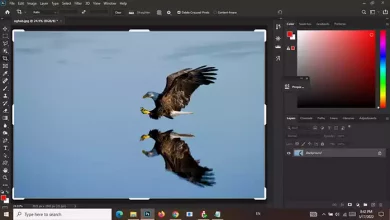
- You need to isolate large areas of similar color
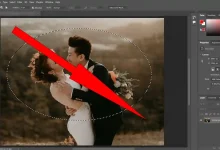
Avoid it when:
- The background is busy
- The subject blends into the background
- You’re working with hair or fur

Common Beginner Mistakes (And Easy Fixes)
Tolerance too high
Fix: Lower the tolerance and build the selection in small steps.
Jagged edges
Fix: After selecting, refine edges using edge refinement tools.
Selecting too much background
Fix: Turn Contiguous on to avoid selecting unwanted areas.
Expecting perfect results on complex images
Fix: Use Magic Wand only as a starting point, not a final solution.
Mini Project: Remove a Solid Background in 60 Seconds
Goal:
Remove a simple background from a product image.
Steps:
- Open a product photo with a plain background.
- Select the Magic Wand Tool and click on the background.
- Hold Shift and click to add missed areas.
- Invert the selection and keep the subject.
- Add a new background or transparent layer behind the subject.
Result:
You’ll have a clean product cutout in less than a minute.
Magic Wand Tool vs Other Selection Tools
- Magic Wand Tool → Best for color-based selections
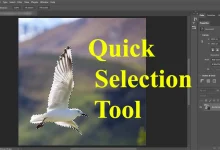
- Object Selection Tool → Best for people and products
- Marquee Tools → Best for simple geometric shapes
- Lasso Tools → Best for rough selections
Smart workflow:
Use this tool to remove large flat areas, then refine with object-based selection tools if needed.
Continue Learning Selections
- Learn all selection tools: Photoshop Selection Tools – Beginner Hub
- Follow the full learning path: Ultimate Photoshop Beginner Guide
- Explore all tools: Photoshop Toolbar – Full Guide
Souces
https://pathedits.com/blogs/tips/