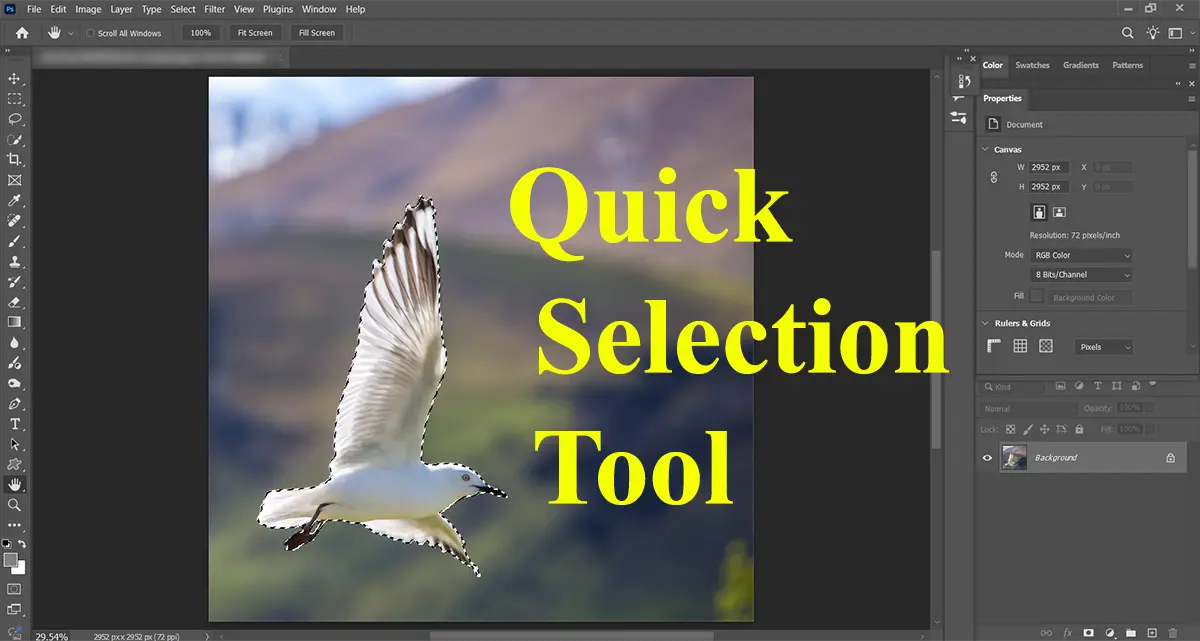
The Quick Selection Tool in Photoshop is one of the fastest ways to select objects without manually tracing edges. Instead of drawing a selection, you simply “paint” over an area, and Photoshop intelligently expands the selection based on texture and color.
If you’re learning how different selection tools work together, this tool plays a key role in the workflow explained in the Photoshop Selection Tools and is part of the essential skills covered in Basic Photoshop Tutorials for Beginners.
Topics
What Is the Quick Selection Tool?
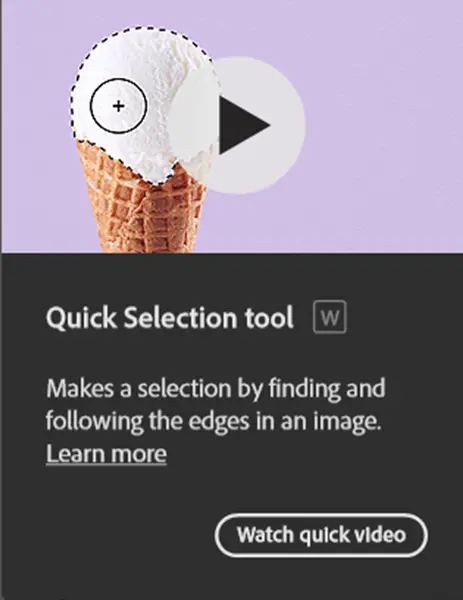
The Quick Selection Tool automatically detects edges while you drag your cursor across an image. It analyzes contrast and color differences to guess where the object boundaries are.
You can find it in the Photoshop toolbar (shortcut W).
How to Use the Quick Selection Tool
1_ Select the Quick Selection Tool from the toolbar





2_ Adjust the brush size (use [ ] keys)
3_ Click and drag over the subject
4_ Photoshop will automatically expand the selection
5_ Refine the selection if needed
Helpful Shortcuts
- Hold Shift → Add to selection
- Hold Alt (Option) → Remove from selection
When Should You Use It?
The tool works best when:
1 The subject is clearly separated from the background
2 There is a good contrast between elements
3 You need a fast, semi-accurate selection
It struggles when:
- Background and subject have similar colors
- Edges are very soft or complex (like hair)
Isolate a subject from the background
Let’s apply this tool in a real scenario
- Open your image
- Select the Quick Selection Tool
- Drag over the subject until it’s fully selected
- Hold Alt to clean unwanted areas
- Click Select and Mask
- Adjust:
- Smooth: 5–10
- Feather: 1–2 px
- Contrast: 10–20
- Output as Layer Mask
You now have a clean cutout ready for editing or compositing.

Comparison between the Quick Selection tool and other similar tools
Each selection tool solves a different problem:
- Quick Selection Tool → Fast and smart edge detection
- Lasso Tool → Manual control
- Magic Wand Tool → Color-based selection
- Object Selection Tool → AI-based detection
To fully understand when to switch tools, check the complete comparison inside the Photoshop Selection Tools.
Common mistakes of beginners
1. Using a brush that’s too large
This causes over-selection and messy edges.
2. Not refining the selection
Always use Select and Mask for better results.
3. Ignoring edge details
Hair and fine edges need extra attention.
Many portrait editing projects begin with a rough selection and end with careful hair refinement. Explore the process in How to Select Hair in Photoshop Without Losing Detail.
Please keep these points in mind
- Zoom in when working on edges
- Use smaller brush sizes for details
- Combine with Lasso Tool for precision
- Always refine with Select and Mask
Why This Tool Matters
This ool is not just about speed—it’s about workflow efficiency. It helps you move quickly from selection to editing, especially in tasks like:
1 Background removal
2 Photo compositing
3 Product editing
4 Social media design
Final Thoughts
If you’re a beginner, mastering the Quick Selection Tool can dramatically improve your editing speed and confidence. It’s one of those tools you’ll use almost every day once you get comfortable with it.
To build a complete understanding of how selection tools work together, explore the Photoshop Selection Tools and continue practicing with tutorials from the Basic Photoshop Tutorials for Beginners.
Sources
https://www.photoshopessentials.com/