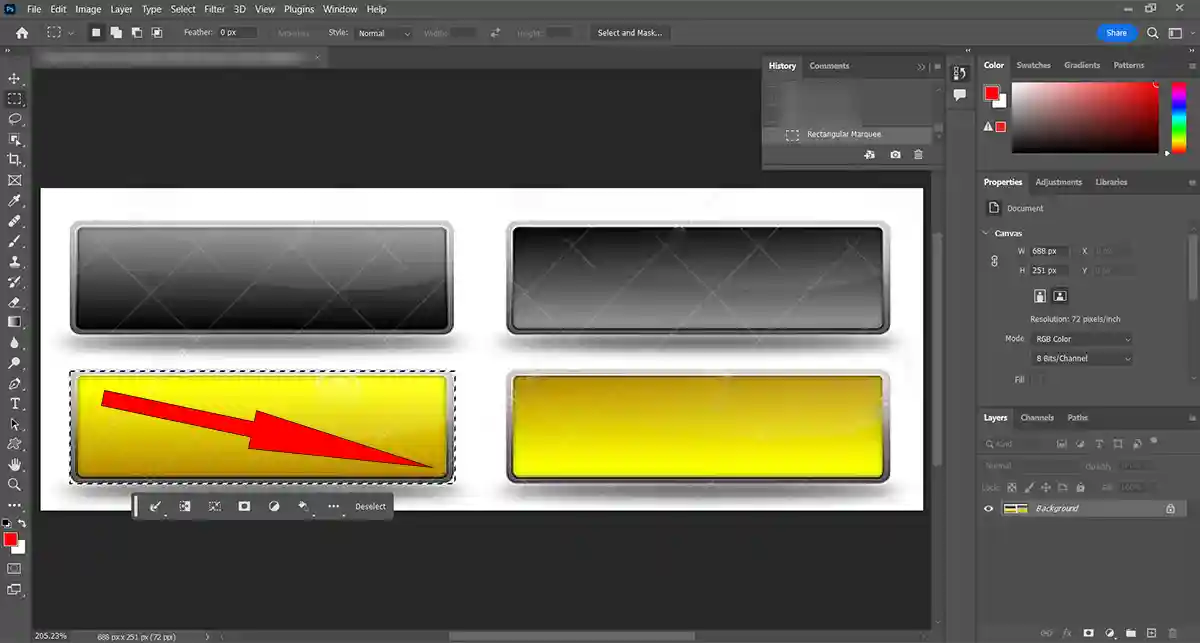
Some changes we need to apply to the image, such as changing the color, are possible by selecting that area. The Rectangular Marquee tool in Photoshop is one of the main and widely used tools for selecting a part of the image. Working with it is very simple. Other tools, such as the Elliptical Marquee and the Lasso and Polygonal Lasso tools, are other selection tools. ( To read more, visit Basic Photoshop Tutorials for Beginners )
In this article, let’s talk about how to use the Rectangular Marquee tool in Photoshop.
Where is the Rectangular Marquee tool?
The Rectangular Marquee Tool is at the top of the Photoshop Toolbar below the Move tool. Its icon resembles a square’s perimeter. You can click the Elliptical Marquee Tool to read about another selection tool.

How to make a selection by Rectangular Marquee tool?
The working method is: you start from the upper and left part of the area you want to select. Hold the mouse button down exactly from that part and move the mouse down and right to cover the desired area completely. To complete the selection, release the button.
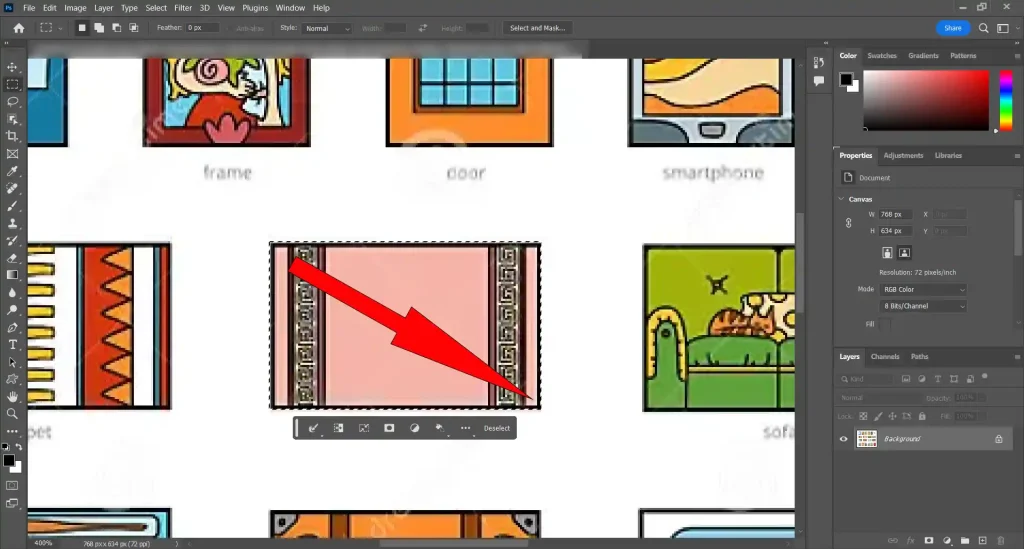
You will see a rectangle-shaped, selected area with dotted sides..


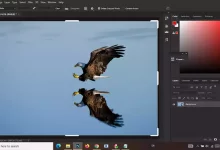
If the selection is wrong, use the Rectangular Marquee tool to move it by clicking above it. In this case, the pointer becomes an arrow and a rectangle.
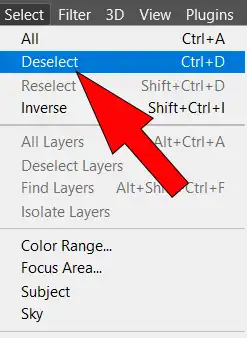
If the selected area is no longer needed, you can unselect it. To do this, you can choose Deselect from the Select menu. Alternatively, you can use the shortcut key Ctrl + D much more easily.
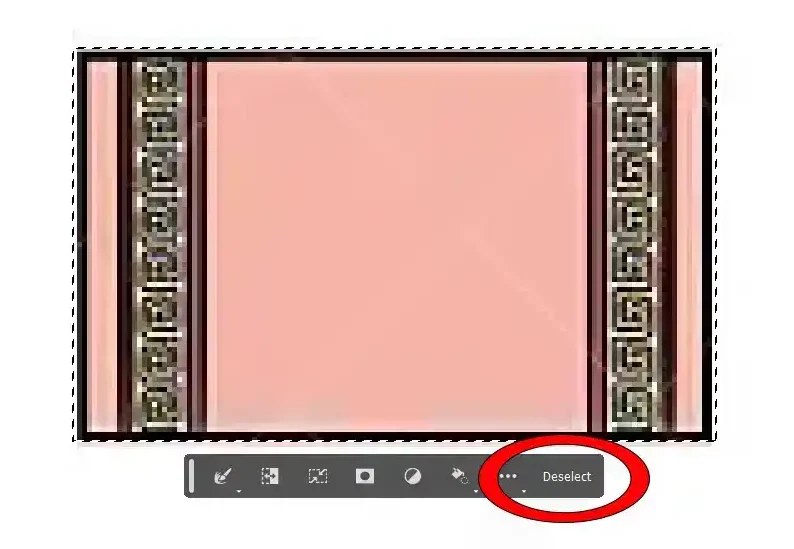
Or click Deselect from the Contextual Task Bar.
Rectangular Marquee tool shortcut key
To choose the Rectangular Marquee tool, hold down the M key instead of clicking the icon. Then, select an area by clicking the mouse button and dragging.
How to select a square region in Photoshop?
When you select this tool, the Options Bar related to the Rectangular Marquee tool in Photoshop appears at the top of the screen. In this Option Bar, there is a section called Style. If you set Style to Fixed Ratio and set Height and Width to 1, then the tool will select a square area.

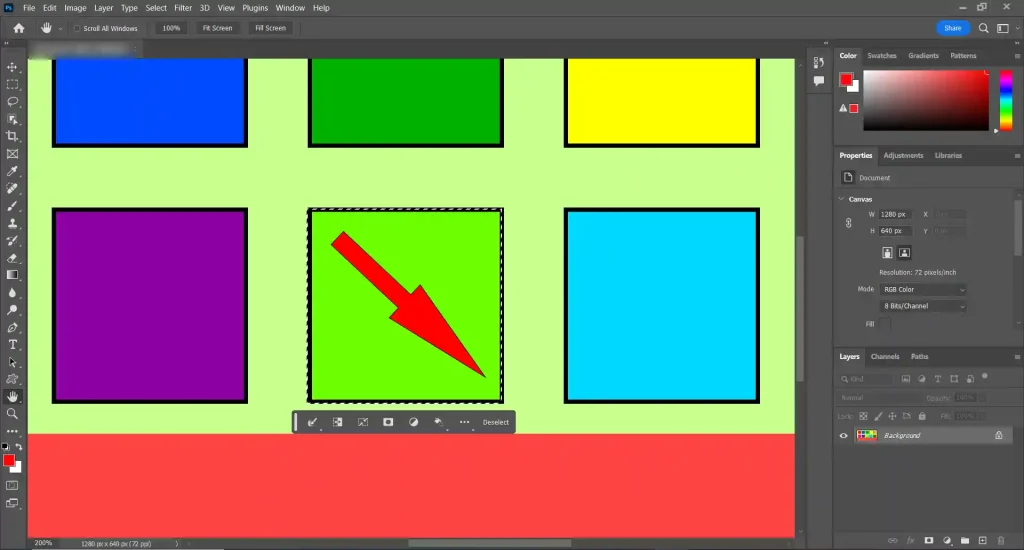
Return the style settings to Normal after you’re done, otherwise the tool will still select a square for you.
Shortcut key for selecting square shape
An easy way to create a square selection area is to use the Shortcut Key. After selecting the Rectangular Marquee tool, hold down the shift key, press the mouse button, and drag. After following the steps, you will have drawn and selected the square. Finally, release the mouse button and then release the shift key.
Draw a selection starting from the center
In normal mode, we drag from the left and top point. To drag from the center, first hold down the Alt key, then hold the mouse button and draw. Once you’re finished, release the mouse button and the Alt key.
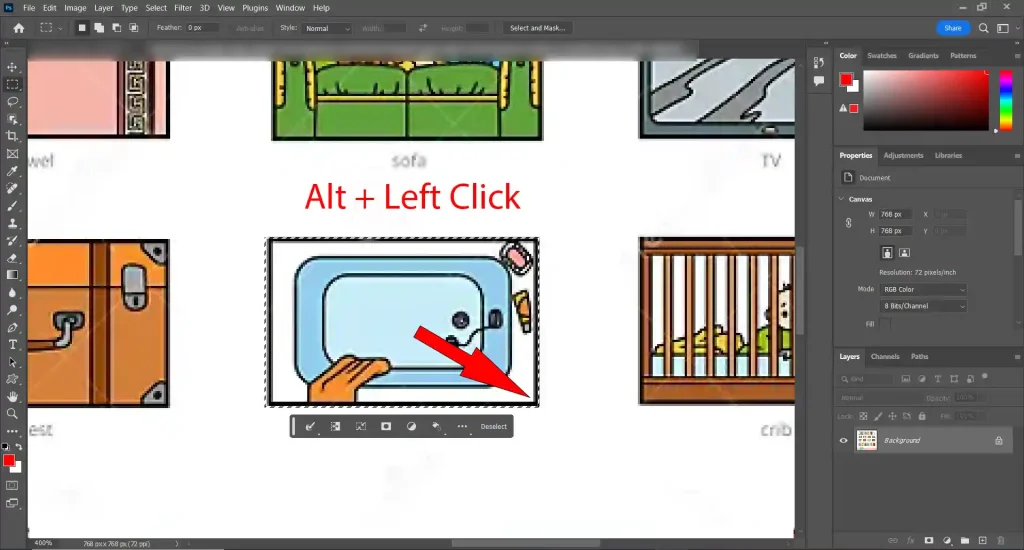
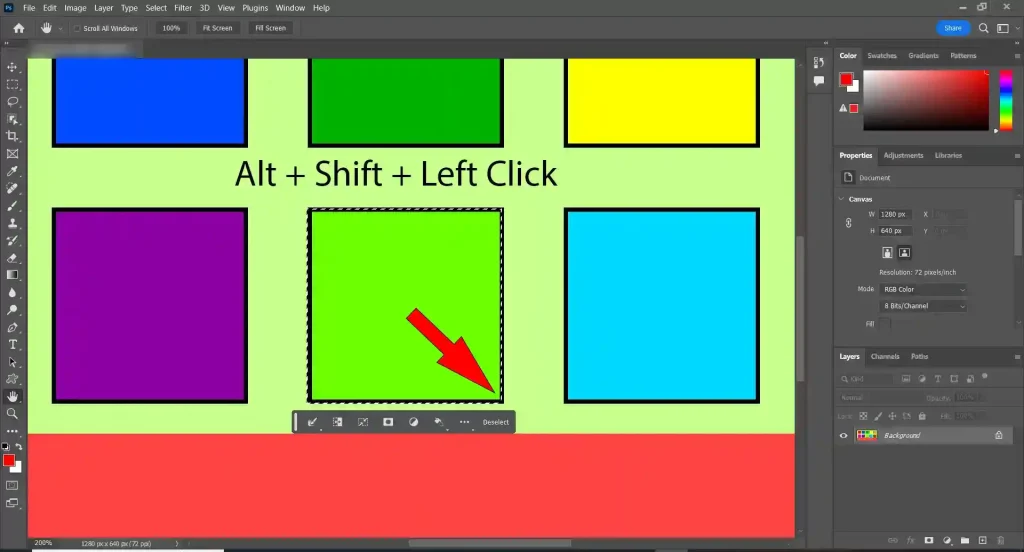
To select the square from the center while drawing, press and hold the Shift and Alt keys, click the mouse button, and drag.
When Should You Use the Rectangular Marquee Tool? (Real Use Cases)
The Rectangular Marquee Tool is best used when you need clean, straight-edged selections.
It’s ideal for editing areas that naturally fit into rectangular or square shapes.
Here are common real-world scenarios where this tool is the fastest and cleanest option:
- Cropping or isolating banners, posters, and signs
- Selecting UI elements, buttons, or interface parts in screenshots
- Creating square thumbnails for social media or websites
- Selecting parts of a background to replace or blur
- Preparing product images with simple box-shaped backgrounds
Tip:
If the object has complex edges, use the Rectangular Marquee Tool to block the main area first, then refine with selection refinement tools.
Common Beginner Mistakes (And Simple Fixes)
Beginners often struggle with small details that make selections look inaccurate.
Here are the most common mistakes and how to fix them:
Mistake 1: Getting uneven rectangles
✔ Fix: Hold Shift while dragging to create a perfect square.
Mistake 2: Selection starts from the wrong corner
✔ Fix: Hold Alt / Option to draw the selection from the center.
Mistake 3: Accidentally moving the selection
✔ Fix: Hold the Spacebar while dragging to reposition the selection before releasing the mouse.
Mistake 4: Hard edges look unnatural
✔ Fix: Add a very small feather (1–2px) for smoother blending when applying edits.
Mini Project: Create a Clean Square Thumbnail for Social Media
Let’s use the Rectangular Marquee Tool in a practical mini project.
Goal:
Create a square thumbnail for a blog post or social media profile.
Steps:
- Open your image in Photoshop.
- Select the Rectangular Marquee Tool from the Toolbar.
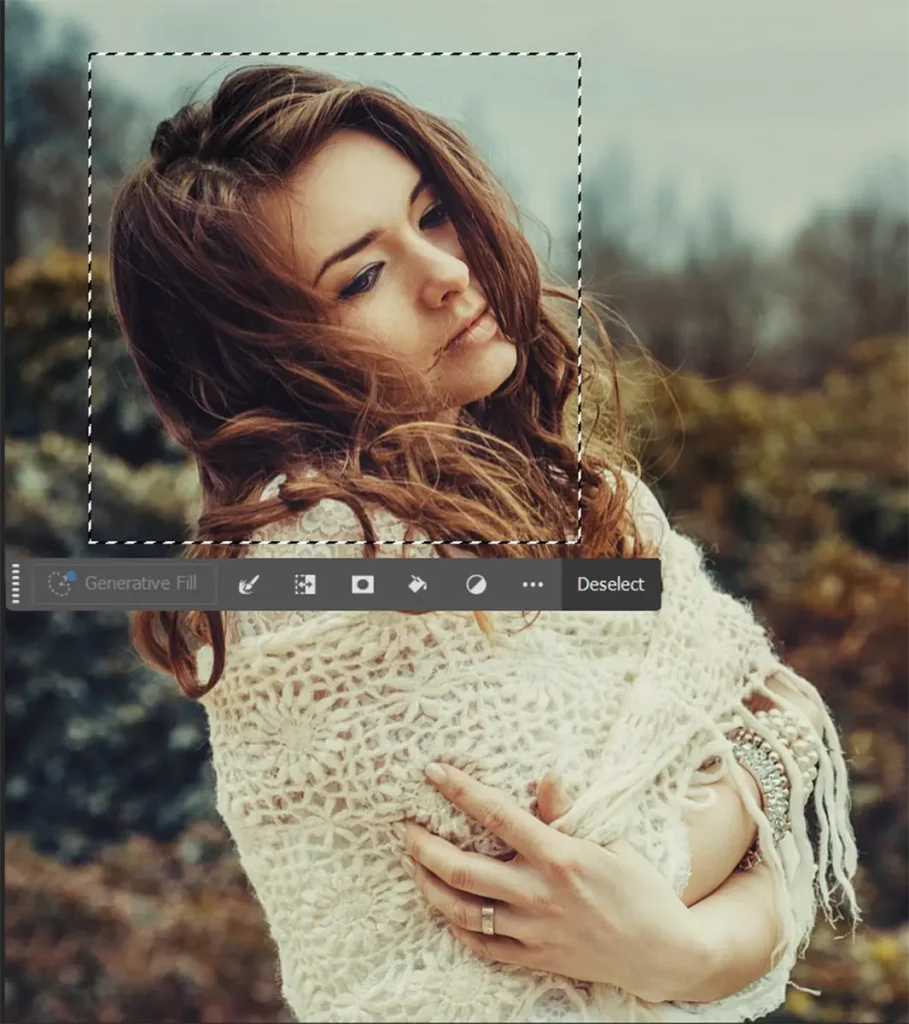
- Hold Shift and drag to create a perfect square selection.
- Position the square over the most important part of the image.
- Invert the selection and remove or blur the background.
- Resize the final image for web use.
Result:
You’ll have a clean, professional square thumbnail that fits perfectly on social media platforms.
Rectangular Marquee Tool vs Other Selection Tools
Choosing the right tool at the right time saves a lot of effort.
- Rectangular Marquee Tool
Best for straight-edged selections like banners, frames, and thumbnails. - Elliptical Marquee Tool
Best for circular profile photos and round objects. - Lasso Tools
Useful for rough, quick selections. - Object Selection Tool
Best for complex subjects like people or animals.
Workflow tip:
Use the Rectangular Marquee Tool to define the main area first, then refine the edges with more advanced selection tools if needed.
How This Tool Fits into Real Editing Workflows
In real photo editing workflows, the Rectangular Marquee Tool is usually the first step, not the final one.
A simple workflow:
- Block the main area with the Rectangular Marquee Tool
- Refine edges if needed
- Apply adjustments (brightness, color, blur) only inside the selection
- Blend the edited area naturally into the background.
This approach is commonly used in:
- Website graphics
- Blog thumbnails
- Product image preparation
- Social media content creation
Continue Learning Selection Tools
To improve your selection skills, learn these tools next:
- Elliptical Marquee Tool
- Lasso Tools
- Object Selection Tool
- Magic Wand Tool
Follow the full beginner learning path here:
Ultimate Photoshop Beginner Guide
Conclusion
You can select a rectangular or square area with the Rectangular Marquee tool in Photoshop and then apply the changes you want there. Also, if the selected area is not in the right place, you can move it if you like. Finally, you can deselect that area by using Deselect. I hope this article has helped you to know how to use the Rectangular Marquee tool in Photoshop.
References