How to Use the Spot Healing Brush Tool in Photoshop
Quick Retouch Guide
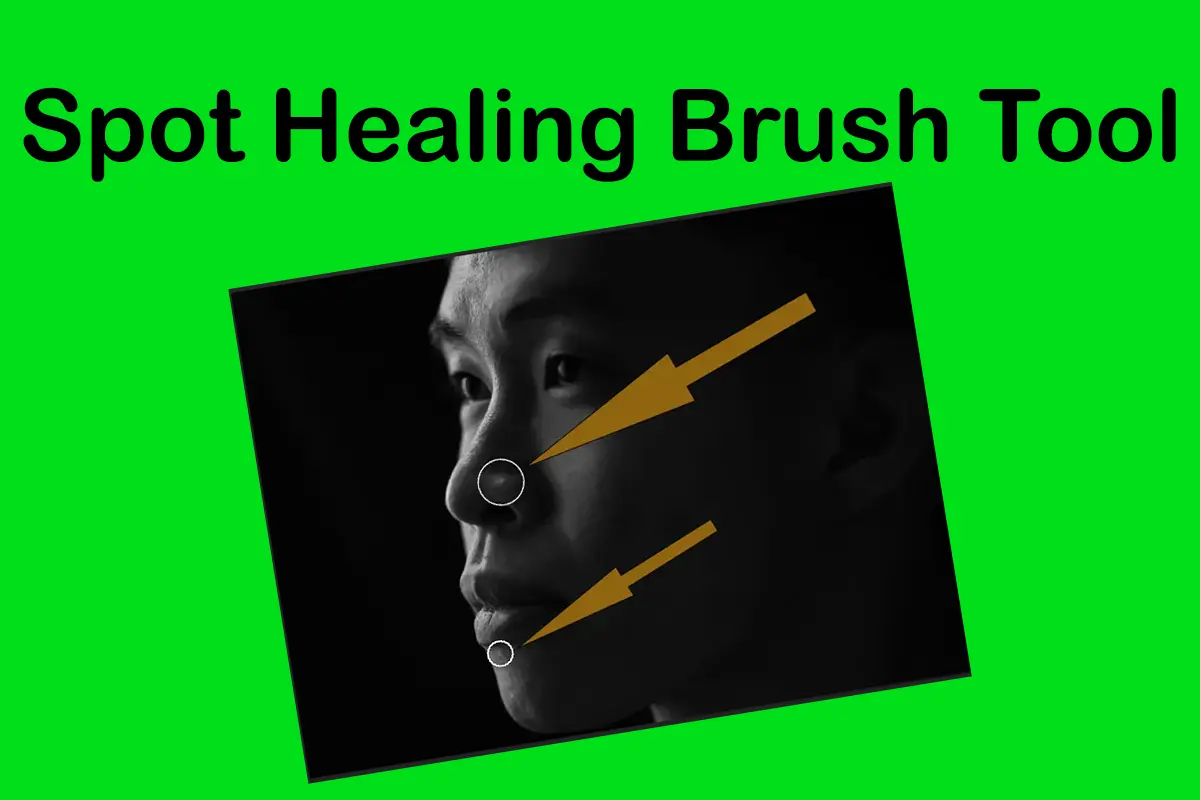
The Spot Healing Brush Tool in Photoshop is one of the easiest ways to remove small imperfections like blemishes, dust, and unwanted spots. It works automatically by analyzing the surrounding area and blending the fix seamlessly into the image.
If you’re new to retouching, this tool is a great starting point and is part of the essential techniques covered in Basic Photoshop Tutorials for Beginners.
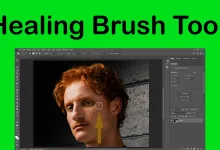
It also plays an important role in the full retouching workflow explained in the Photoshop Healing Tools.
Topics
What Is the Spot Healing Brush Tool?
This tool is designed for fast, automatic corrections. Unlike other tools, you don’t need to sample an area manually — Photoshop does that for you.
Shortcut: J
It’s ideal for:
- Skin blemishes
- Dust spots
- Small distractions
How to Use the Spot Healing Brush Tool
Follow these simple steps:
- Select the tool from the toolbar
- Adjust brush size slightly larger than the spot
- Click or paint over the imperfection
- Photoshop automatically blends the area
That’s it — no manual sampling needed.
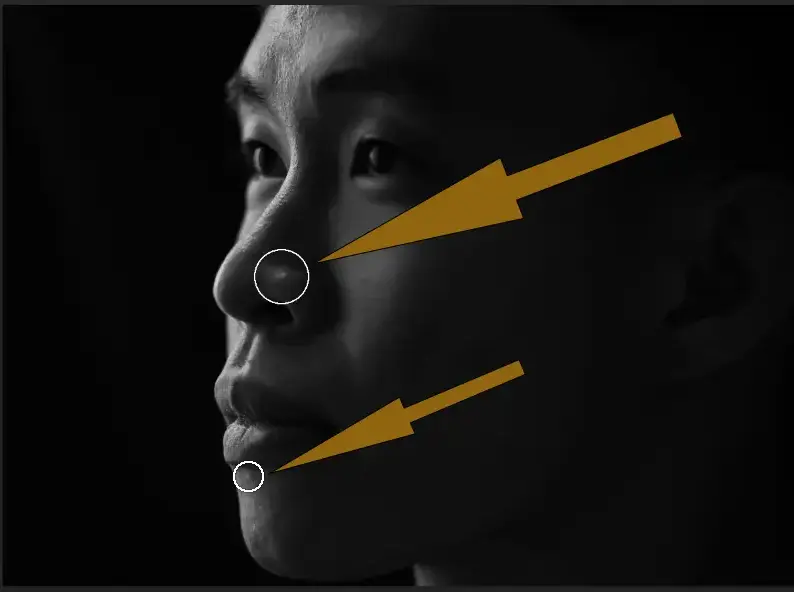
Quick Project: Clean Skin in Under 2 Minutes
How to remove facial blemishes naturally
1_ Open a portrait image
2_ Zoom in to 100%
3_ Select the Spot Healing Brush
4_ Click on blemishes one by one
5_Use small brush size for better precision
6_ Result: Clean skin while keeping natural texture
Spot Healing Brush is excellent for removing small blemishes, but natural retouching often requires additional tools. See How to Retouch Skin Naturally in Photoshop for a complete portrait-retouching workflow
When Should You Use It?
Best for:
- Small imperfections
- Quick retouching
- Beginners
Not ideal for:
A_ Large areas
B_ Complex textures
C_ Edge details
In those cases, you may need more advanced tools covered in the Photoshop Healing Tools.
Common Mistakes
1. Using a brush that is too large
This can blur details and create unnatural results.
2. Over-retouching
Removing too many details can make skin look plastic.
3. Ignoring zoom level
Always zoom in to see real details.
Pro Tips for Better Results
- Use small, precise clicks instead of dragging
- Work on a duplicate layer (non-destructive editing)
- Combine with Healing Brush for better control
- Adjust hardness for smoother blending
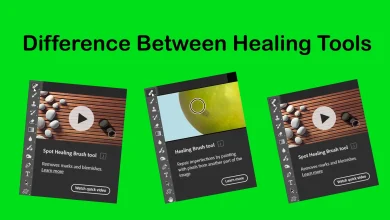
Spot Healing vs Healing Brush
- Spot Healing Brush → Automatic and fast
- Healing Brush → Manual control and more precise
Understanding this difference helps you choose the right tool in different situations.
While the Spot Healing Brush is great for quick fixes, it is not always the best option for every retouching task. Understanding how it compares to other repair tools can improve your workflow. Read the full guide on the Difference Between Healing Tools in Photoshop.
Final Thoughts
The Spot Healing Brush Tool is perfect for quick fixes and beginner-friendly retouching. It may seem simple, but when used correctly, it can produce clean and natural-looking results in seconds.
As you improve, combine it with other tools inside the Photoshop Healing Tools to build a more advanced editing workflow.
Sources