How to Use the Healing Brush Tool in Photoshop
Natural Retouching Guide
The Healing Brush Tool in Photoshop is designed to repair imperfections while keeping the natural texture of the image intact. Unlike automatic healing tools, it gives you more control by allowing you to choose the exact area Photoshop should sample from.
This makes it one of the most useful tools for portrait retouching, skin cleanup, and subtle photo corrections.
If you are still learning Photoshop basics, you can explore where this tool is located inside the Photoshop Toolbar and continue practicing through the tutorials available in Basic Photoshop Tutorials for Beginners.
For a complete overview of retouching tools and workflows, visit the Photoshop Healing Tools.
Topics
What Is the Healing Brush Tool?
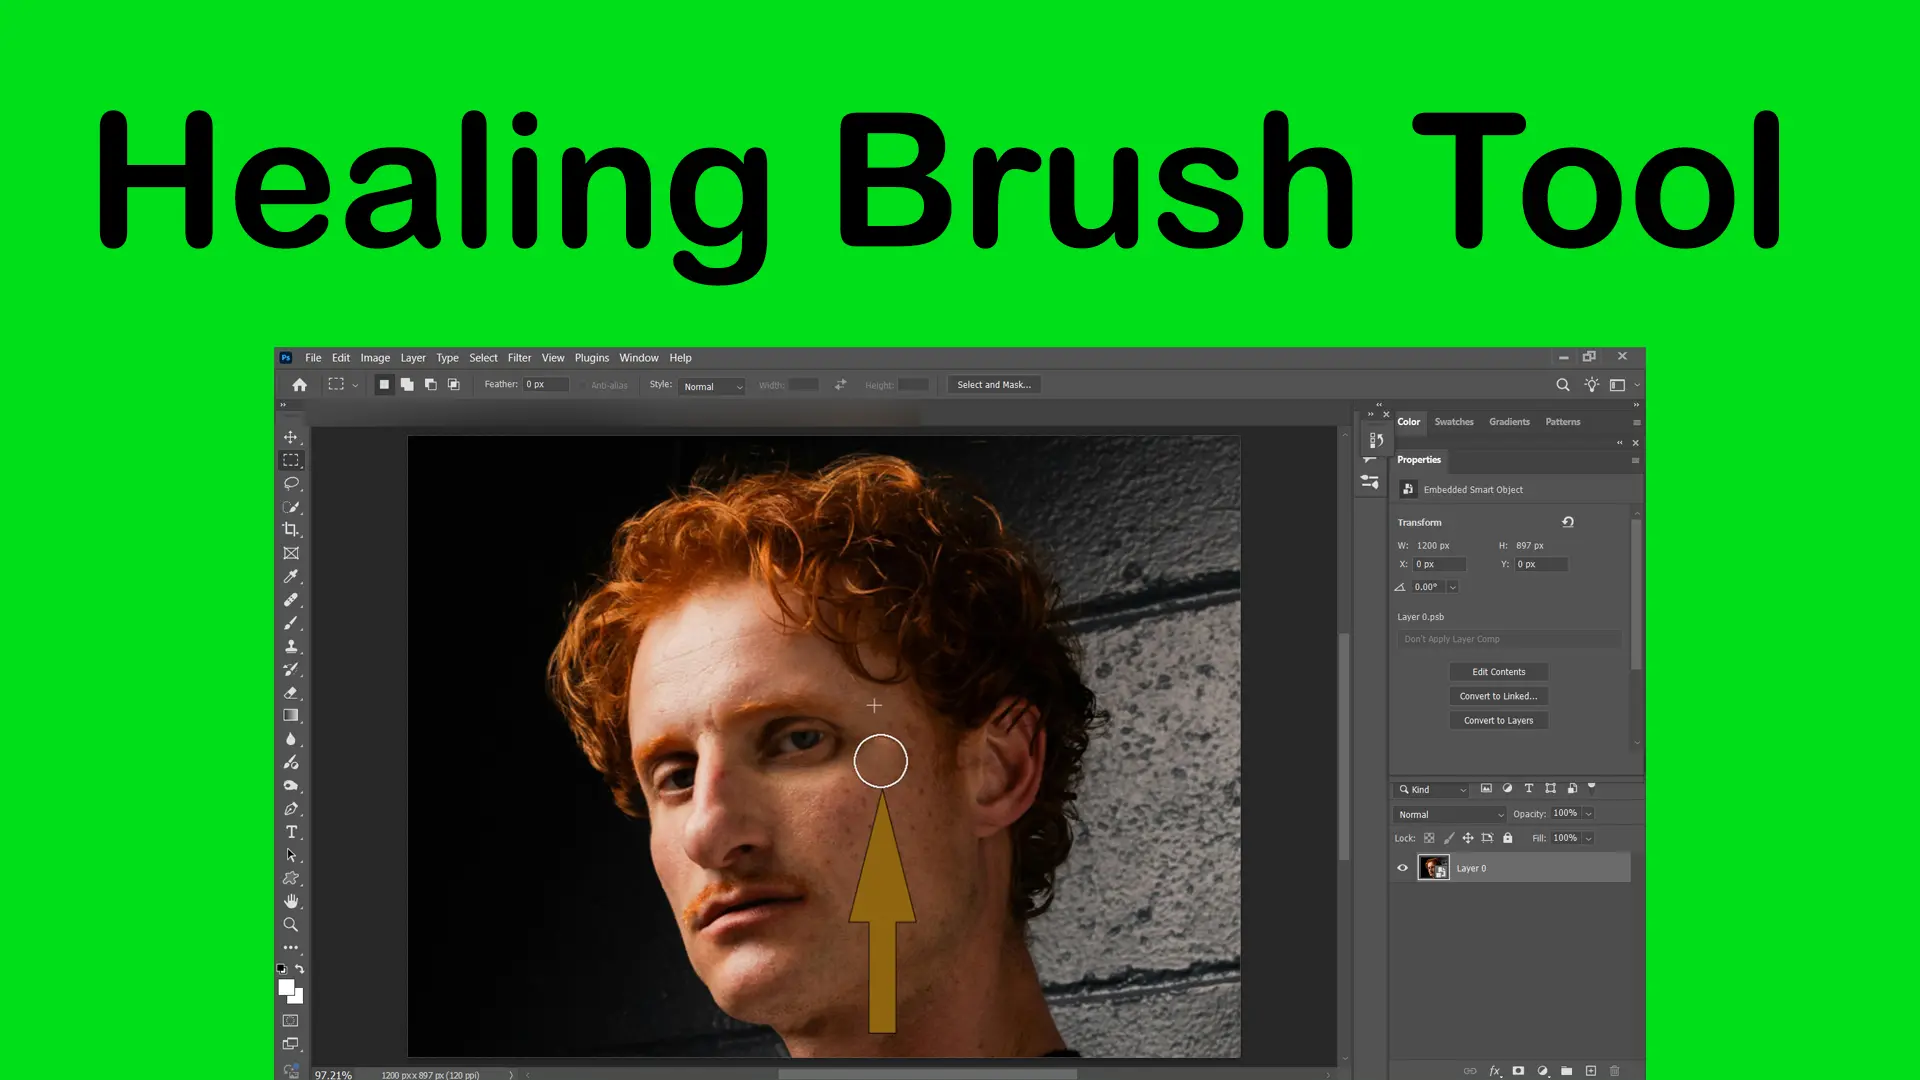
The Healing Brush Tool allows you to copy texture from one area of an image and blend it naturally into another area.
Unlike the Spot Healing Brush, this tool requires manual sampling, which gives you:


- More precision
- Better control over texture
- Cleaner retouching results
Shortcut key: J
How to Use the Healing Brush Tool
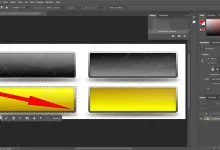
Select the Tool
Choose the tool from the toolbar.
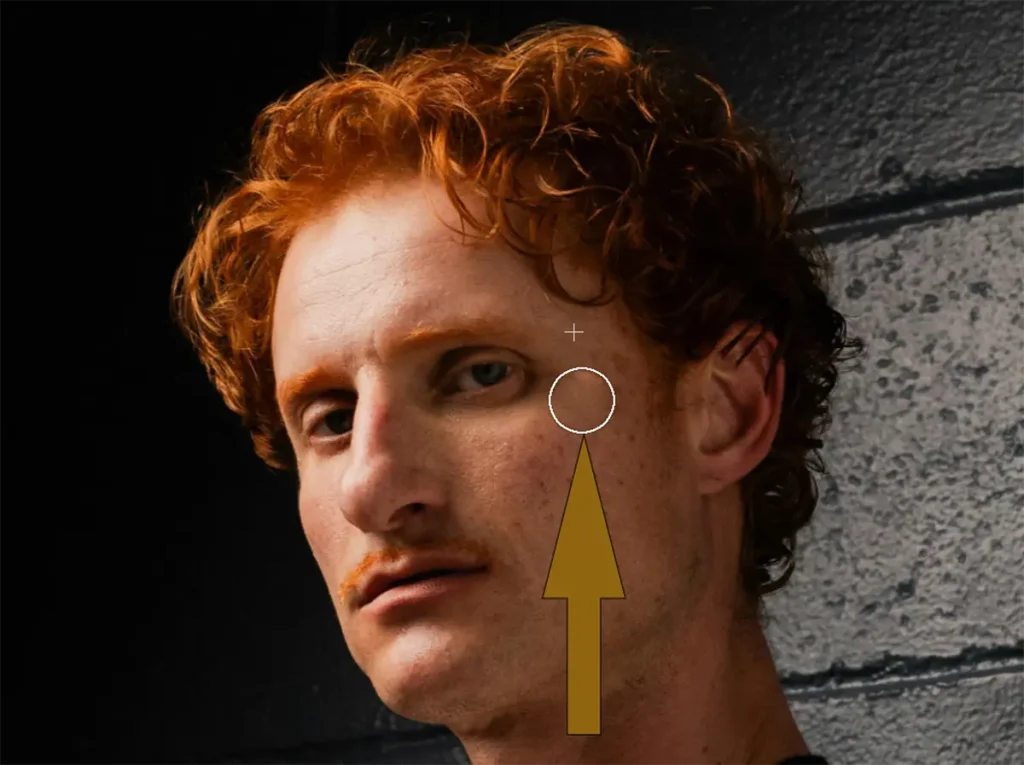
Sample a Clean Area
Hold Alt (Option on Mac) and click on a clean area of the image.
Paint Over the Imperfection
Brush over blemishes, wrinkles, or unwanted details.
Photoshop blends the texture with surrounding lighting and color automatically.
Practical Project: Natural Skin Retouching
Goal:
Remove temporary skin imperfections without making skin look artificial.
Workflow:
1_ Duplicate the original layer
2_ Zoom in to 100%
3_ Use a soft Healing Brush
4_ Sample nearby clean skin frequently
5_ Paint gently over blemishes
Important:
Do not remove every detail. Keeping a small skin texture helps preserve a realistic result.
This is one of the biggest differences between beginner retouching and professional retouching.
The Healing Brush Tool is one of the most valuable tools for realistic portrait retouching. Learn how it fits into a complete workflow in How to Retouch Skin Naturally in Photoshop.
When Should You Use the Healing Brush Tool?
Best for:
- Skin retouching
- Removing small wrinkles
- Repairing textures
- Cleaning product photos
Less effective for:
A. Large object removal
B. Complex edge reconstruction
For larger corrections, tools explained in the Photoshop Healing Tools may work better.
Healing Brush vs Spot Healing Brush
Many beginners confuse these two tools.
- Automatic sampling
- Faster
- Simpler
Healing Brush
- Manual sampling
- More accurate
- Better for professional retouching
If you need clean and controlled results, the Healing Brush usually performs better.
The Healing Brush offers more precision than automatic healing tools, but choosing the right tool depends on the type of retouching you are doing. See the full comparison in Difference Between Healing Tools in Photoshop.
Common Mistakes Beginners Make
1. Sampling from the wrong area
Using texture from a different lighting area creates unnatural results.
2. Using a large brush
Large brushes blur skin texture and reduce realism.
3. Over-editing skin
Professional retouching keeps natural details instead of removing everything.
Pro Tips for Better Results
- Sample frequently while retouching
- Use smaller brush sizes
- Work on separate layers when possible
- Zoom in to inspect texture carefully
Why This Tool Matters
The Healing Brush Tool teaches one of the most important editing concepts in Photoshop:
Good retouching should be invisible.
Instead of simply covering imperfections, this tool helps you blend edits naturally into the image while preserving detail and texture.
Final Thoughts
The Healing Brush Tool is one of the best tools for learning realistic retouching techniques in Photoshop. While beginners often rely on automatic tools, understanding manual healing gives you much more control and produces cleaner, more professional results.
As your editing skills improve, this tool becomes an essential part of portrait and photo restoration workflows.
Sources