
Photoshop Selection Tools: How to Make Clean Selections in Real Projects

Selections are one of the most important skills in Photoshop. Almost every serious edit starts with a good selection.
If you can’t select properly, you can’t retouch, remove backgrounds, change colors, or apply effects to specific areas.
This page helps you understand how selection tools work together and when to use each tool in real editing situations — instead of learning tools one by one without a clear purpose.
Topics
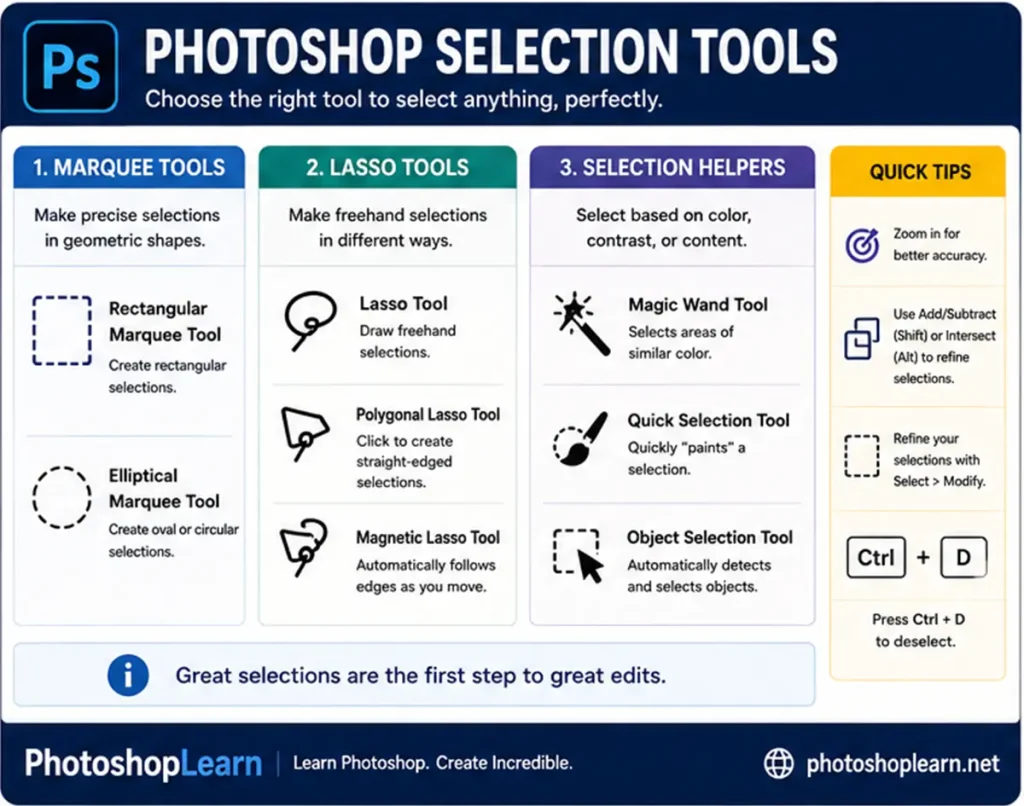
Why Selections Matter in Real Photo Editing
Selections are not just technical steps — they define where your edits happen.
You use selections when you want to:
- Remove or replace backgrounds
- Retouch faces without affecting hair or skin edges
- Change the color of an object
- Apply blur or sharpness only to certain areas
- Cut out products for websites or social media
If your selection is poor, the final result will always look unnatural.
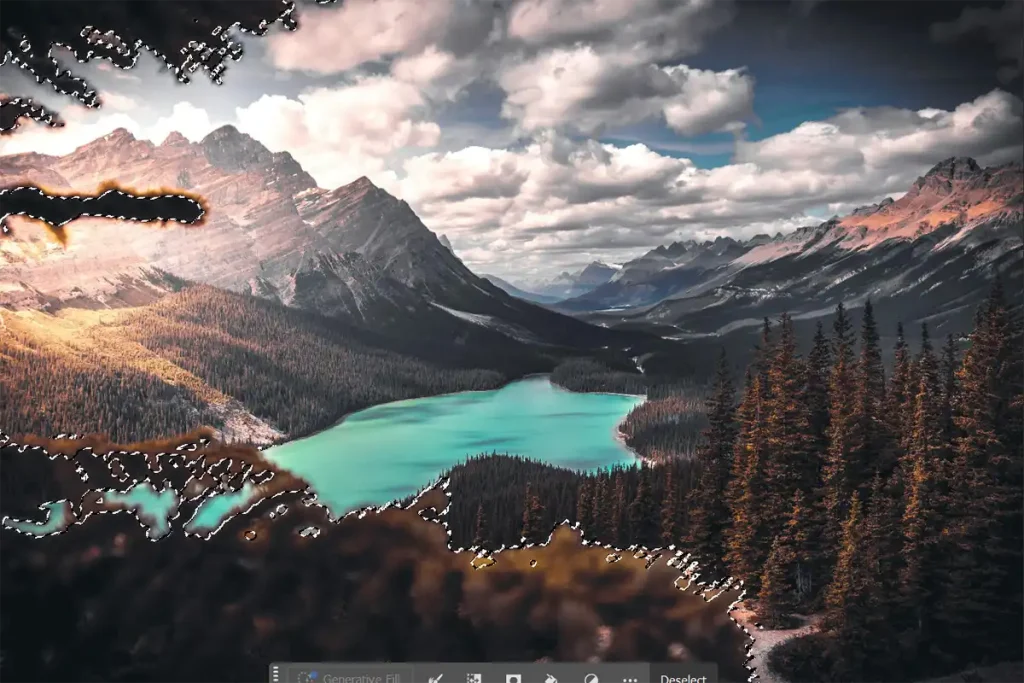
How to Choose the Right Selection Tool (Simple Decision Guide)
Different selection tools are designed for different types of shapes and subjects:
- Geometric shapes (circles, squares)
Use marquee tools for clean, simple shapes. - Rough freehand selections
Use lasso tools when speed matters more than precision. - Objects with clear edges (people, products)
Use object-based selection tools for faster results. - Areas with similar color
Use color-based selection methods for quick isolation.
Smart workflow tip:
Start with the simplest tool to block the main shape, then refine the edges with advanced selection methods.
Beginner Workflow: From Selection to Clean Cutout
A simple and effective selection workflow for beginners:
- Create a rough selection using a basic selection tool
- Refine edges using selection refinement tools
- Convert the selection into a mask
- Clean up small mistakes
- Apply edits or replace the background
This workflow is used in:
- Portrait editing
- Product photo cleanup
- Thumbnail and profile image creation
- Social media design
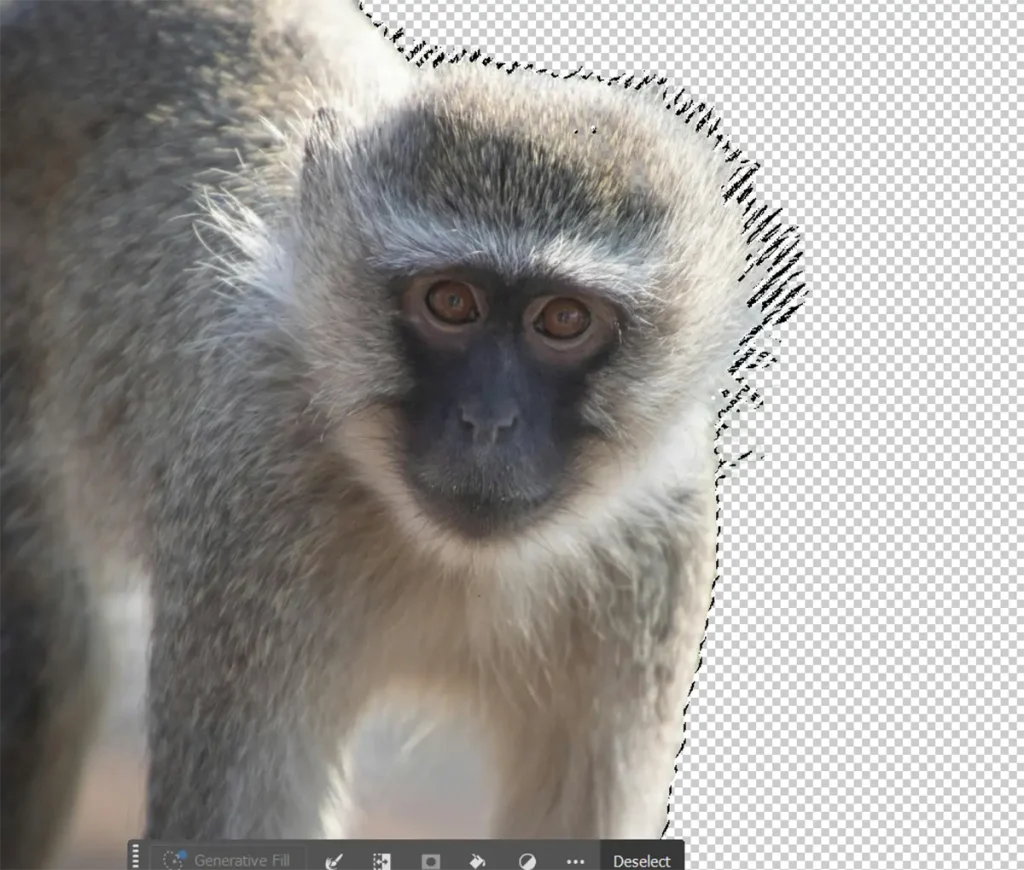
Common Problems Beginners Face with Selections
Most beginners struggle with:
- Jagged edges
- Missing hair details
- Selecting too much or too little
- Over-editing the edges
- Choosing the wrong tool for the subject
The solution is not to use “more advanced tools” immediately —
It’s to use the right tool for the right stage of selection.
Learn Each Selection Tool (Detailed Guides)
Use these detailed tutorials to master each selection method:
- Elliptical & Rectangular Marquee Tools
- Lasso Tools
- Object Selection & Quick Selection Tools
- Magic Wand Tool
You can also explore all Photoshop tools here:
Getting to Know the Photoshop Toolbar and Its Tools
Follow the full beginner learning path here:
Ultimate Photoshop Beginner Guide
Practice with Real Projects
To truly master selections, practice with real tasks:
- Create a circular profile image
- Remove background from a product photo
- Isolate a person from a busy background
- Change the color of an object
Practice-based learning will improve your selection skills much faster than reading tool descriptions alone.
Next Step After Selections
Once you understand selections, the next step is learning:
- Layer Masks
- Adjustment Layers
- Basic Retouching
- Blending techniques
These skills turn simple selections into professional edits.