Getting to know the Photoshop Toolbar and its tools
Photoshop tools names with images
One of Photoshop’s most essential parts is the Toolbar, where all the program’s tools are located. Some of these tools are visible, while others are hidden. Each hidden tool is revealed by clicking on the relevant tool in its group. Every Photoshop user should be familiar with the location of these tools in the Toolbar and their functions.
Topics
- Where is the Photoshop Toolbar?
- The hidden tools
- Photoshop Toolbar tools and functions
- Move tools
- Selection Tools
- Crop and Slice Tools in Photoshop Toolbar
- Eyedropper Tool Group
- Healing Tools in Photoshop Toolbar
- Brush Tools
- Clone Tools
- History Brush Tools
- Eraser Tools
- Coloring with one-click tools in the Photoshop Toolbar
- The Blur and Sharpen Tools
- Adjustment Brush Tool
- Dodge and Burn Tools in Photoshop Toolbar
- The group of Pen Tool
- Type Tools
- Path Selection Tools
- Shape Tools
- The Photoshop navigation tools in the Toolbar
- Sources
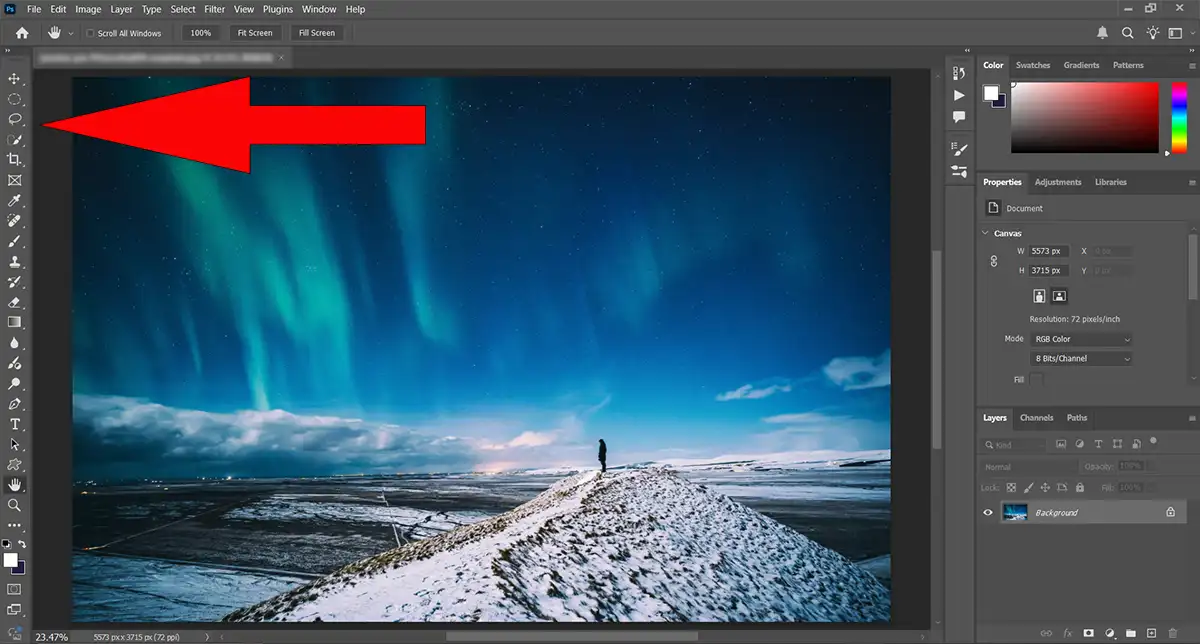
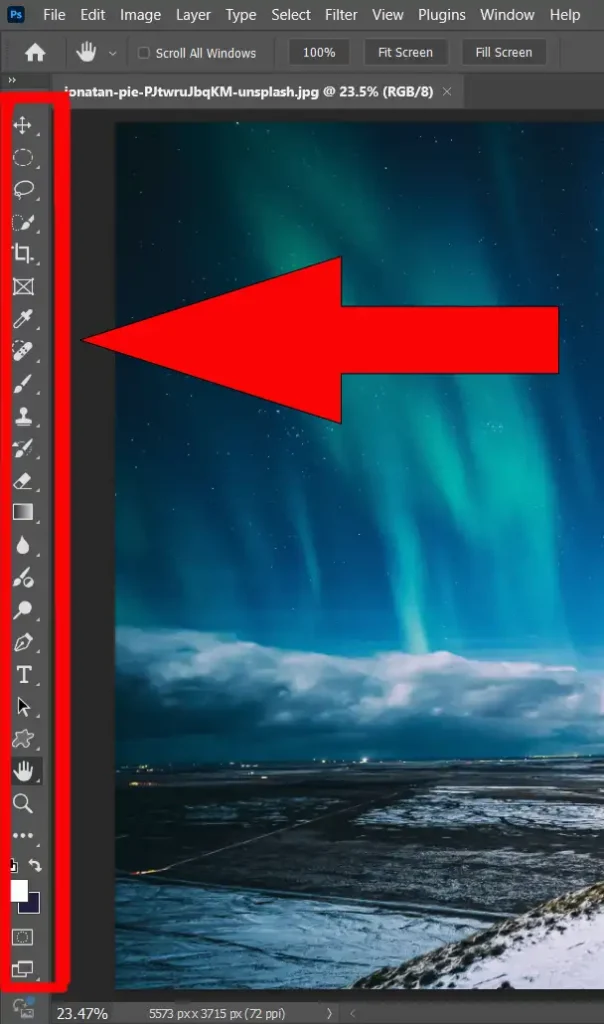
Where is the Photoshop Toolbar?
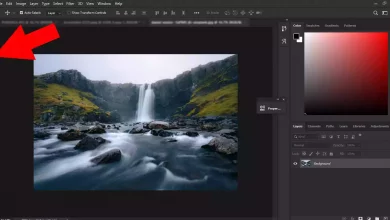
The Photoshop toolbar is on the screen’s left side and can be viewed in a single column or two columns. By default, the toolbar is displayed in a single column, but clicking the arrow above it allows it to be shortened to two columns or restored to its original state.
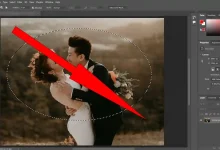
The hidden tools
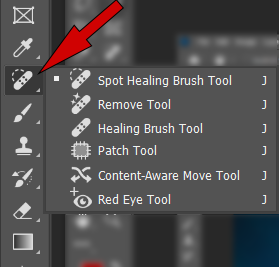
Sometimes, an icon in the Photoshop Toolbar represents a group of tools hidden beneath it. In such cases, an arrow will appear below and to the right of the icon. Right-clicking on the icon or left-clicking and holding it reveals the group, allowing you to select the desired tool.
Please look at Basic Photoshop Tutorials for Beginners for more tutorials
In each section, the default tool is shown as representative of a group. For example, the Spot Healing Brush Tool is the default tool here. However, if the user selects the Healing tool from the group, Photoshop will then show it as the default tool from this group.
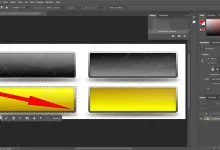
The arrow of the hidden tools’ icon
Photoshop Toolbar tools and functions
Move tools
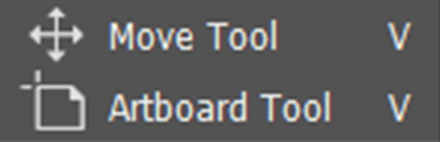
Move Tool ( V )
You can move layers and selection areas in Photoshop using the Move tool.
Artboard Tool ( V )
This tool helps you design multiple areas in one document, such as for different screen sizes for the web.
Selection Tools
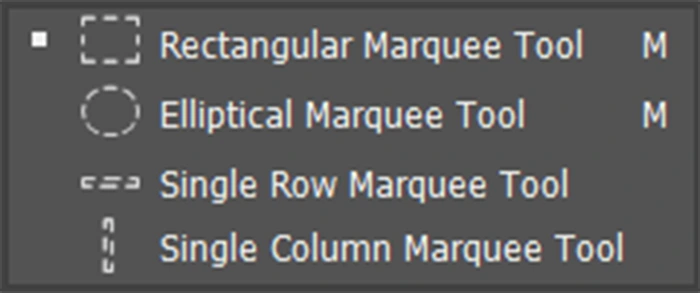
Rectangular Marquee Tool ( M )
The Rectangular Marquee Tool is used to draw rectangular selection areas. To draw a square selection area, hold down the Shift key.
Elliptical Marquee Tool ( M )
You can use the Elliptical Marquee Tool in the Toolbar to draw oval selection areas. To draw a circle, you need to hold down the Shift key.
Single Row Marquee Tool
Using for select a single row in Photoshop.
Single Column Marquee Tool
You can select a one-pixel column in Photoshop document by this tool.
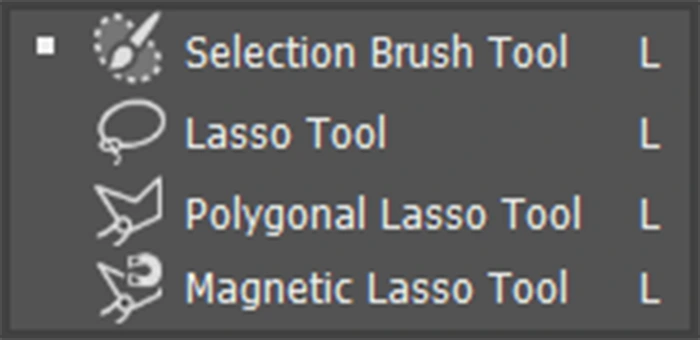
Selection Brush Tool ( L )
You can use the Selection Brush Tool like a regular brush and create a selection area instead of painting. It’s easy!
Lasso Tool ( L )
You can create a selection area around an object by moving the Lasso Tool and drawing a line around it.
Polygonal Lasso Tool ( L )
With the Polygonal Lasso Tool, you can design a free-form selection by clicking, creating spots, and connecting them with a line.
Magnetic Lasso Tool ( L )
When you move your mouse pointer around an object, the Magnetic Lasso Tool attaches the selected outline to the object’s edges.
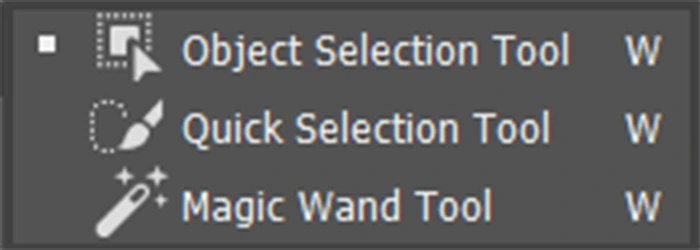
Object Selection Tool and Quick Selection Tool ( W )
While the Quick Selection tool needs the user to manually drag and extend the selection over parts with similar texture and hue, the Object Selection tool detects and chooses objects within an image.
Magic Wand Tool ( w )
The Magic Wand Tool is for selecting areas of similar color. You can specify whether the regions are contiguous or separate.
Crop and Slice Tools in Photoshop Toolbar
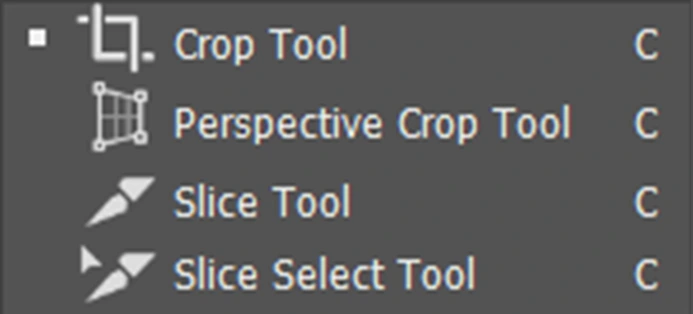
Crop Tool ( C )
The Photoshop Crop Tool can be used to crop an image rectangularly, make it smaller, and remove unwanted parts.
Perspective Crop Tool ( C )
The Perspective Crop Tool can be used to correct typical distortion or perspective issues in addition to cropping a photo
Slice Tool ( C )
You can divide an image into small sections using the Photoshop Slice Tool and change them separately.
Slice Select Tool ( C )
You can use the Slice Select Tool to choose specific slices made with the Slice Tool.
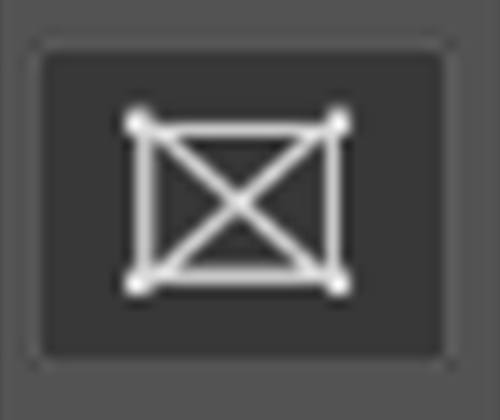
Frame Tool ( K )
You can create a rectangular or elliptical placeholder to fill it with part of an image.
Eyedropper Tool Group
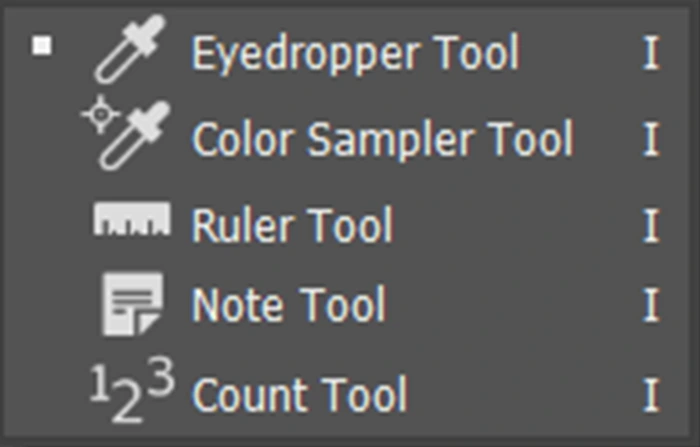
Eyedropper Tool ( I )
The Eyedropper Tool in Photoshop allows you to sample colors in a photo.
Color Sampler Tool ( I )
The chosen region of an image’s color values is shown by the Color Sampler Tool.
Ruler Tool ( I )
The Ruler Tool calculates distances between angles and positions. You can calculate the distances between image elements with the help of this tool.
Note Tool ( I )
The Note Tool creates and attaches any note to a Photoshop document.
Count Tool ( I )
To manually count the number of items in a photo, use the Count Tool.
Healing Tools in Photoshop Toolbar
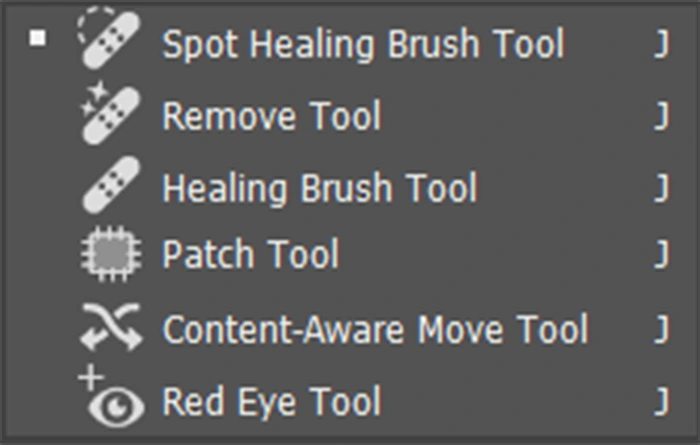
Spot Healing Brush Tool ( J )
If the defect in the image is slight, such as a spot, a pimple, or a scratch, you can use the Photoshop Spot Healing Brush. It will correct the problem by using the color around the place.
Remove Tool ( J )
Photoshop’s Remove Tool is an AI-powered tool that replaces a selected region with pixels produced by the AI to eliminate distracting elements or undesired items from photos.
Healing Brush Tool ( J )
You can use the Healing Brush Tool in the Photoshop Toolbar to fill an unwanted area with the color of another location in the image. To do this, choose a color from another area in the image before clicking on the unwanted area.
Patch Tool ( J )
Using the Photoshop Patch Tool, you can repair an image by drawing a line around the unwanted area and then dragging that piece to the part of the image you want to replace the unwanted area.
Content-Aware Move Tool ( J )
Using the Content-Aware Move Tool, you can remove part of an image and fill it with a different area’s texture. Photoshop automatically uses components from the surrounding environment to fill the space in the original location.
Redeye Tool ( J )
The Red Eye Tool eliminates typical red eye issues caused by the camera flash in photos.
Brush Tools
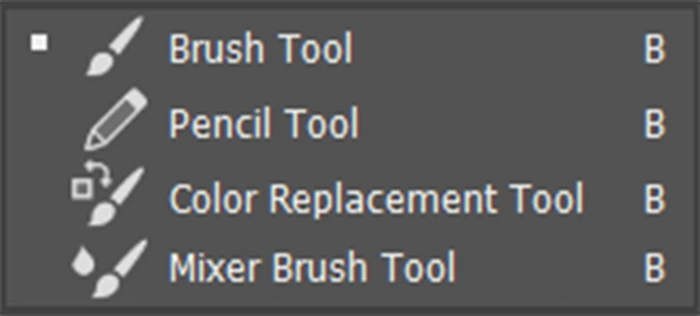
Brush Tool ( B )
The Photoshop Brush tool is for painting in different colors and with various brushes in a Photoshop document.
Pencil Tool ( B )
The Photoshop Pencil Tool is similar to the Brush Tool, but there is a significant difference: The Pencil Tool is appropriate for painting with hard edges.
Color Replacement Tool ( B )
To quickly swap out an object’s color for another, use Photoshop’s Color Replacement Tool.
Mixer Brush Tool ( B )
The Photoshop Mixer Brush Tool blends colors in an image and gives you control of the brush’s wetness.
Clone Tools
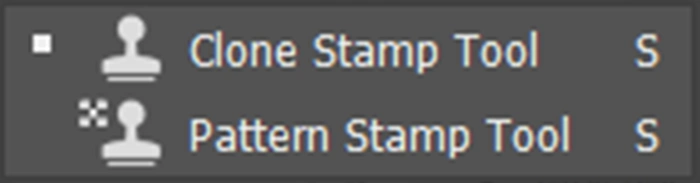
Clone Stamp Tool ( S )
The Photoshop Clone Stamp Tool allows you to sample a portion of the image and copy it to the area you want to replace.
Pattern Stamp Tool ( S )
Fill an image area with a pattern using the Photoshop Pattern Stamp Tool.
History Brush Tools
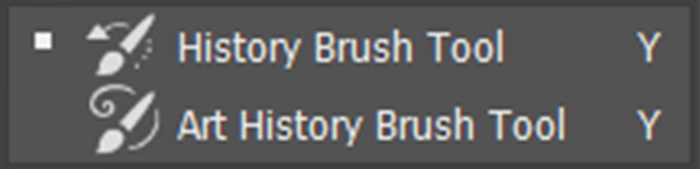
History Brush Tool ( Y )
Using the historical Brush Tool, a snapshot from a previous step ( from the History Panel) is painted into the present image.
Art History Brush Tool ( Y )
The Art History Brush uses stylized brush strokes to paint a previous step into the image.
Eraser Tools
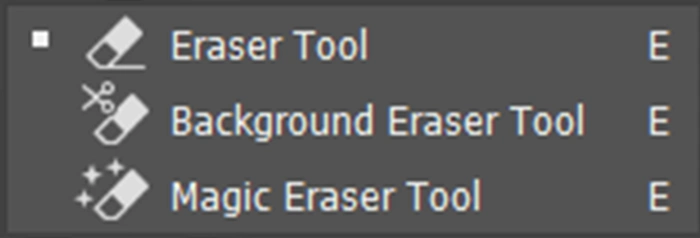
Eraser Tool ( E )
The Photoshop Eraser Tool erases and deletes pixels in an image or a layer.
Background Eraser Tool ( E )
Using the Photoshop Background Eraser Tool, erase or delete pixels of a sample color in an image or a layer.
Magic Eraser Tool ( E )
Using the Photoshop Magic Eraser Tool, delete or erase pixels in an image or a layer with a single click.
Coloring with one-click tools in the Photoshop Toolbar
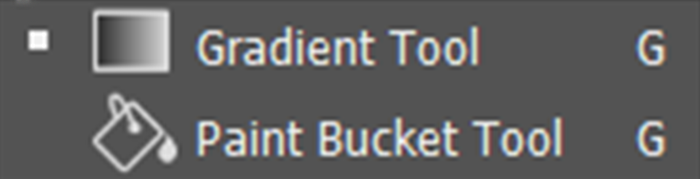
Gradient Tool ( G )
The Photoshop Gradient Tool creates gradient multicolor mixes. You can choose two or more colors and determine how the colors mix.
Paint Bucket Tool ( G )
The Paint Bucket Tool in the Photoshop Toolbar fills an area with your Foreground color.
The Blur and Sharpen Tools
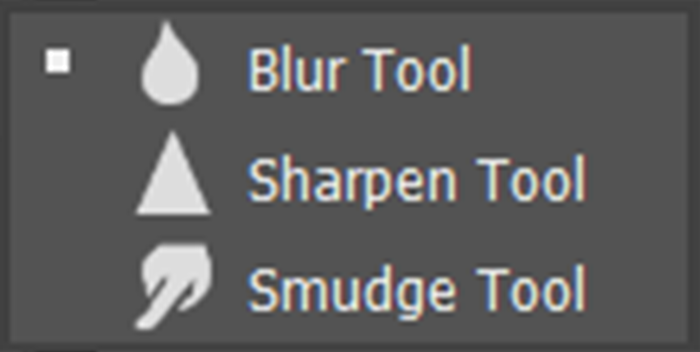
Blur Tool
Using the Blur Tool in the Photoshop Toolbar blurs areas in an image or a layer.
Sharpen Tool
Like a brush, the Sharpen Tool sharpens areas by clicking and moving over them.
Smudge Tool
Using the Smudge Tool smears and blends colors in areas of an image.
Adjustment Brush Tool
Using the Adjustment Brush Tool, create local adjustment layers, such as Brightness/Contrast.
Dodge and Burn Tools in Photoshop Toolbar
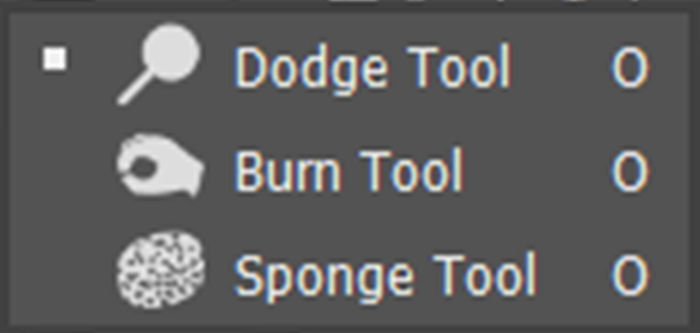
Dodge Tool ( O )
The Dodge Tool, located in the Toolbar, lightens areas in an image.
Burn Tool ( O )
Using the Burn Tool to darken areas in an image by clicking on the tool over them.
Sponge Tool ( O )
Using the Sponge Tool alters the color saturation in areas of a photo.
The group of Pen Tool
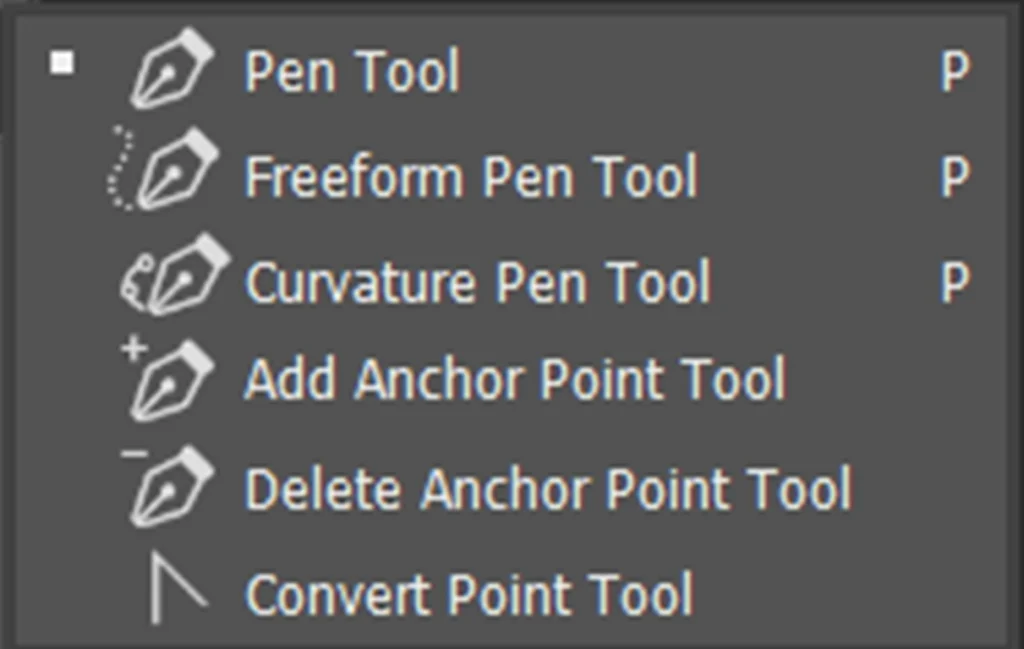
Pen Tool ( P )
The Pen Tool has been used to drag paths and shapes using anchor points.
Freeform Pen Tool ( P )
The Freeform Pen Tool allows you to draw freely and adds anchor points.
Curvature Pen Tool ( P )
Working with the Curvature Pen Tool is easier than the Pen Tool and creates soft curves.
Add Anchor Point Tool
Use the Add Anchor Point Tool to add anchor points to the paths.
Delete Anchor Point Tool
Using the Delete Anchor Point Tool allows you to eliminate anchor points on paths and reshape paths.
Convert Point Tool
Using the Covert Point Tool on a smooth point, convert it to a corner point and vice versa.
Type Tools
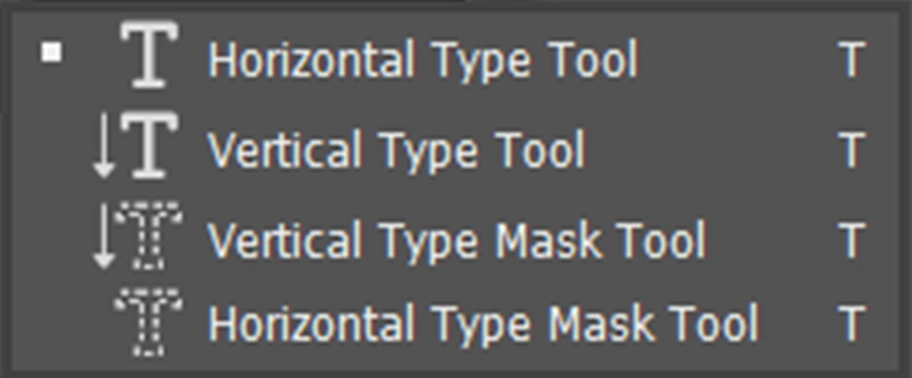
Horizontal Type Tool ( T )
The Horizontal Type Tool adds text horizontally to the Photoshop document.
Vertical Type Tool ( T )
Using the Vertical Type Tool, text is added vertically to the document.
Vertical Type Mask Tool ( T )
The Vertical Type Mask tool in the Photoshop Toolbar creates vertical selections based on the shape of the type.
Horizontal Type Mask Tool ( T )
Using the Horizontally Type Mask Tool lets you create selection areas in the shape of type horizontally.
Path Selection Tools
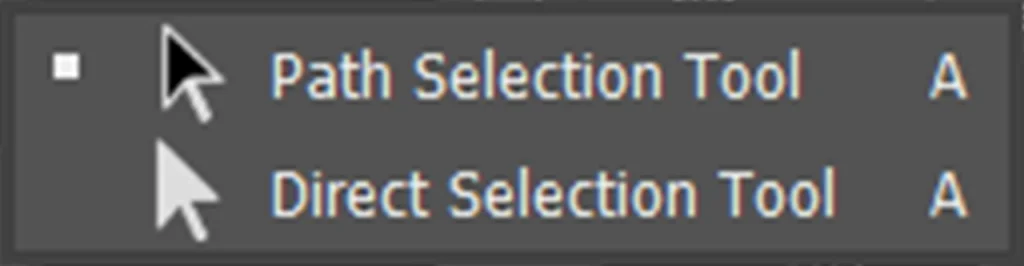
Path Selection Tool ( A )
Using the Path Selection Tool to select a path entirely and move it.
Direct Selection Tool ( T )
Using the Direct Selection Tool lets you select a segment of a path or shape and move it.
Shape Tools
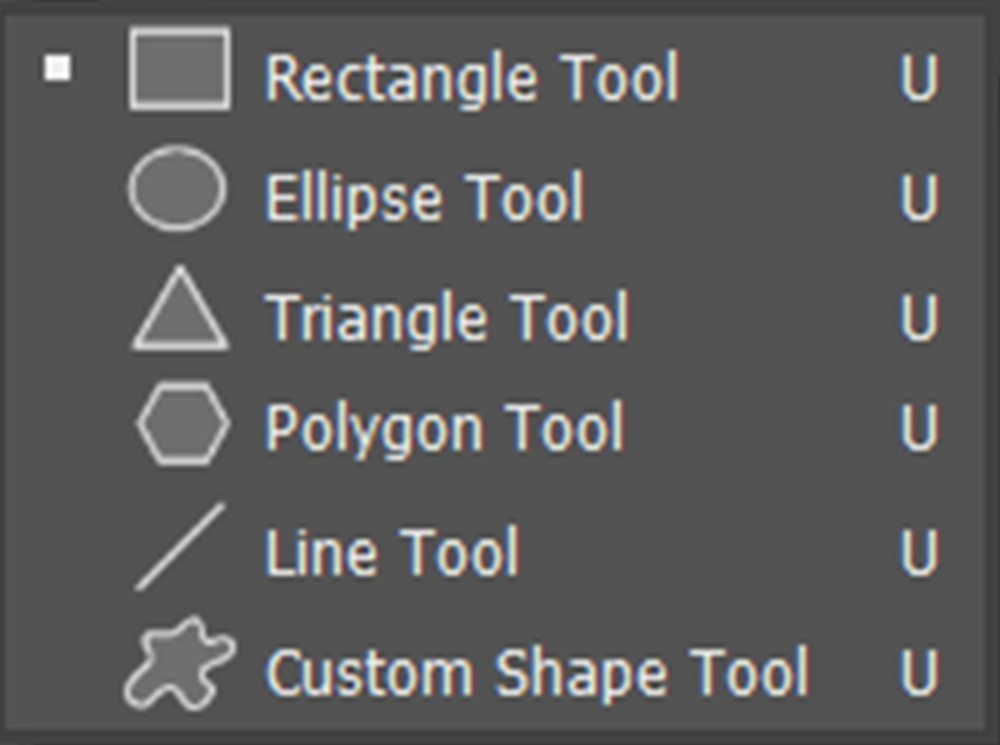
Rectangle Tool ( U )
The Rectangular Tool draws a rectangle with sharp or round corners. You can also draw a square by pressing the Shift Key while drawing.
Ellipse Tool ( U )
The Ellipse Tool draws oval vector shapes. You can also draw a circle by pressing the Shift Key while drawing.
Triangle Tool ( U )
Using the Triangle Tool draws three-sided vector shapes. You can also draw an equilateral triangle by pressing the Shift Key while drawing.
Polygon Tool ( U )
The Polygon Tool draws polygons; you can determine the number of sides by using options and using the Star Ratio to draw stars.
Line Tool ( U )
The Line Tool draws lines; using the options, you can control stroke and weight.
Custom Shape Tool ( U )
You can draw custom shapes using the Custom Shapes Tools. Photoshop has ready-made custom shapes, but you can also draw and save them yourself or download them online.
The Photoshop navigation tools in the Toolbar

Hand Tool ( H )
The Hand Tool allows you to navigate different parts of an image, especially while zooming in and out.
Rotate view Tool ( R )
The Rotate View Tool rotates the canvas of an image.
Zoom Tool ( Z )
Using the Photoshop Zoom Tool lets you zoom in and out on an image.

Sources
https://www.photoshopessentials.com/
https://clippingpathstudio.com/