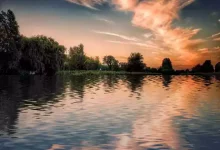
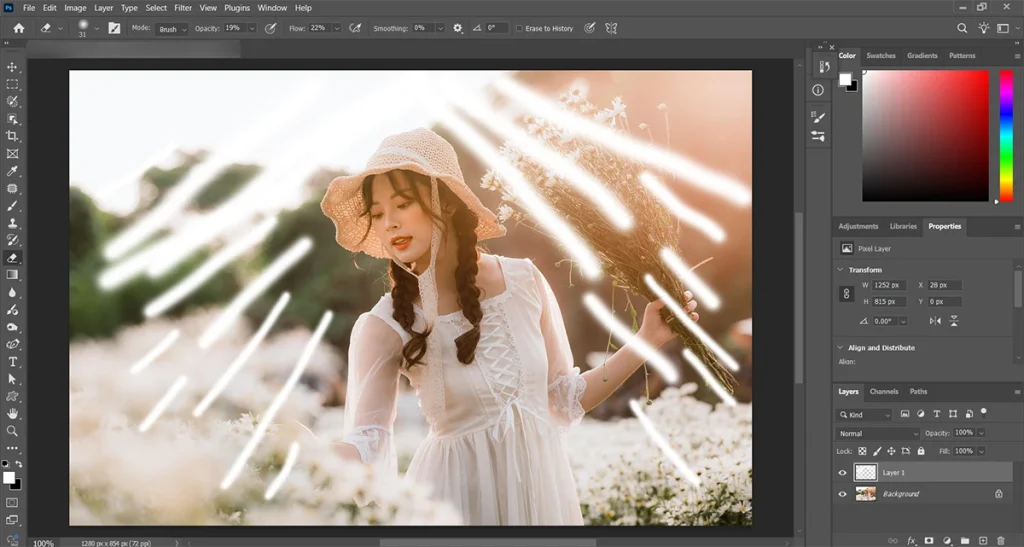
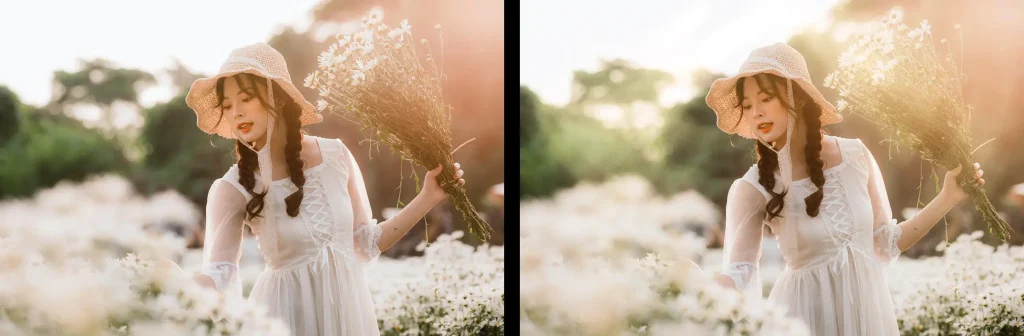
I love to create light rays and sun rays for the correct type of image effects in Photoshop, because they can significantly enhance a photo’s aesthetic appeal and dramatic potential. Employing an image that is backlit by the sun (or any other significant source of light) will result in a more realistic impression. The subject of our sample photograph is situated in the midst of a garden and hills, with the setting sun serving as the background. This is the ideal setting for producing effects that involve light rays and sun rays. After you have selected an image, your next step is to look over the lighting to get a clear picture of the direction(s) in which the light rays should flow.
When you have finished doing that, you are now ready to carry out the effect!
Please visit How to Create Cool Effects in Photoshop for more effects.
Topics
Use the Brush Tool to Apply Light Paint
It’s easy to create a light ray effect in Photoshop without any complex tools. Make a new Layer to start.
Then, using the Brush Tool, create relatively thin white strips along the paths where you want light rays to emerge. Keep the lines narrow and well-defined, and ensure that they are traveling in the appropriate direction.

In addition to that, you don’t need to be precise. In the coming steps, I plan to make them more realistic.
Using Radial Blur Filter
We can now start creating the light effect to look more real now that we have a base for it. To make them look more natural in the setting, we’ll start applying a blur.
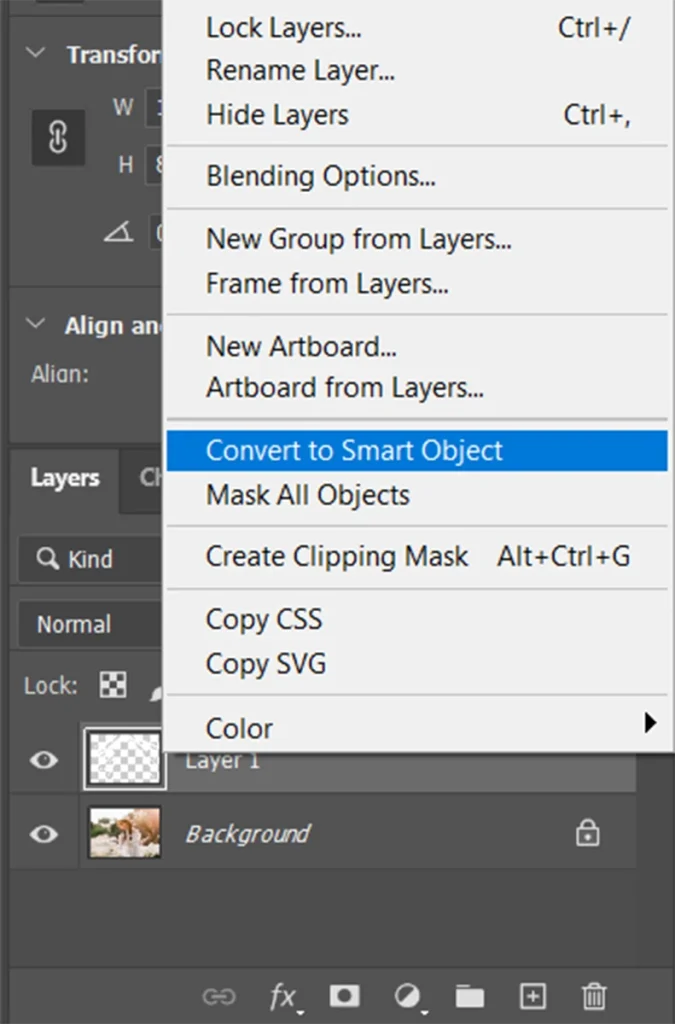
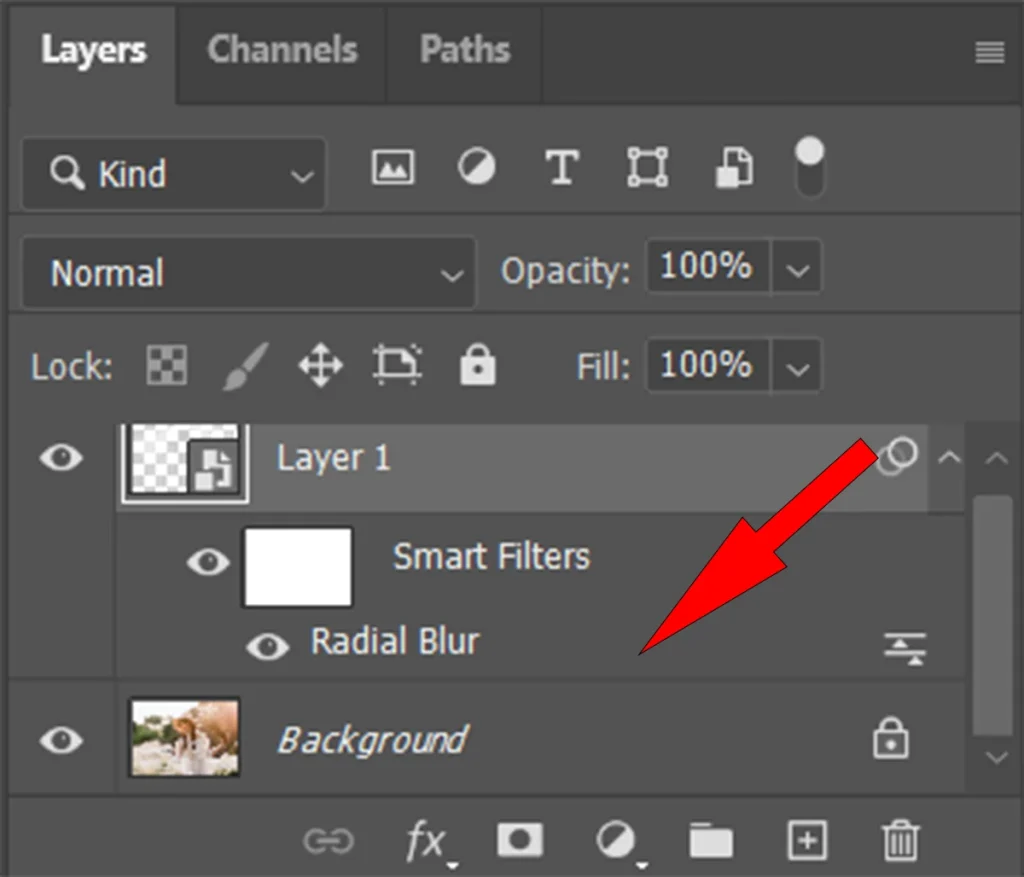
Before we begin, right-click on the Layer on which you will build the rays and select Convert to Smart Object. This allows us to add Filters and effects to the Layer while still having the ability to alter the settings at any time.
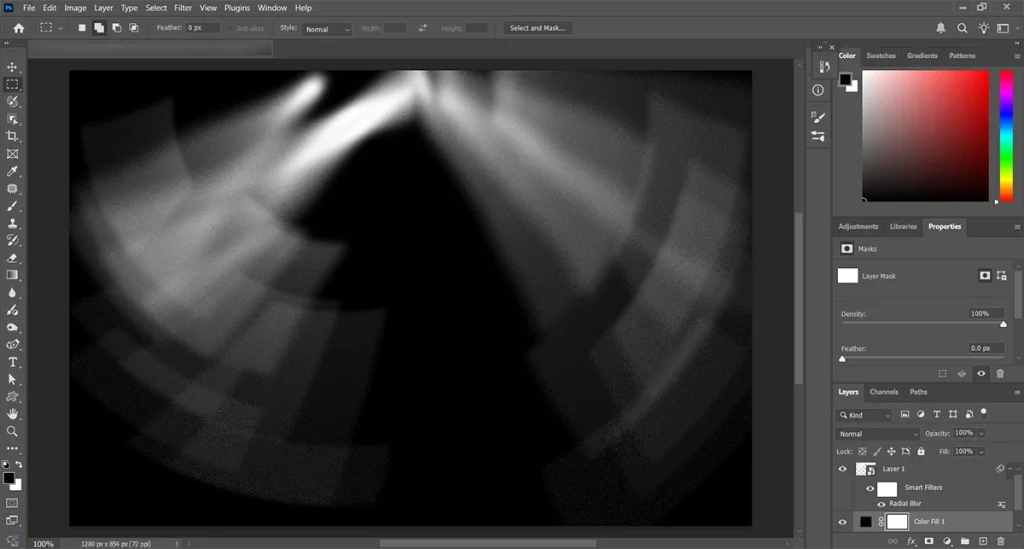
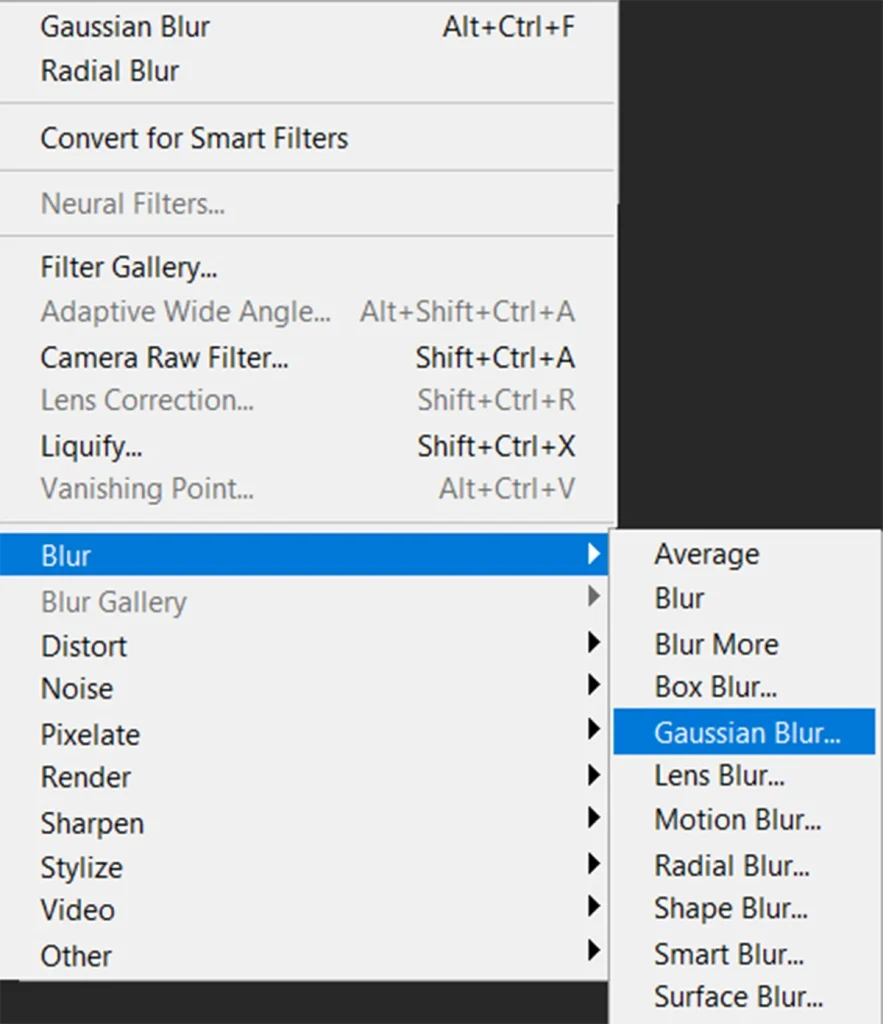
After, you can access the Filter menu, choose Blur, and then select Radial Blur.

The Radial Blur dialog will open. Set the Blur Method to Zoom. You can now specify a single place from which the blur effect will originate. This should be placed above the light source in the photograph.
Because we can’t see a real-time preview, you may need to go back and reposition this point if it doesn’t align properly.
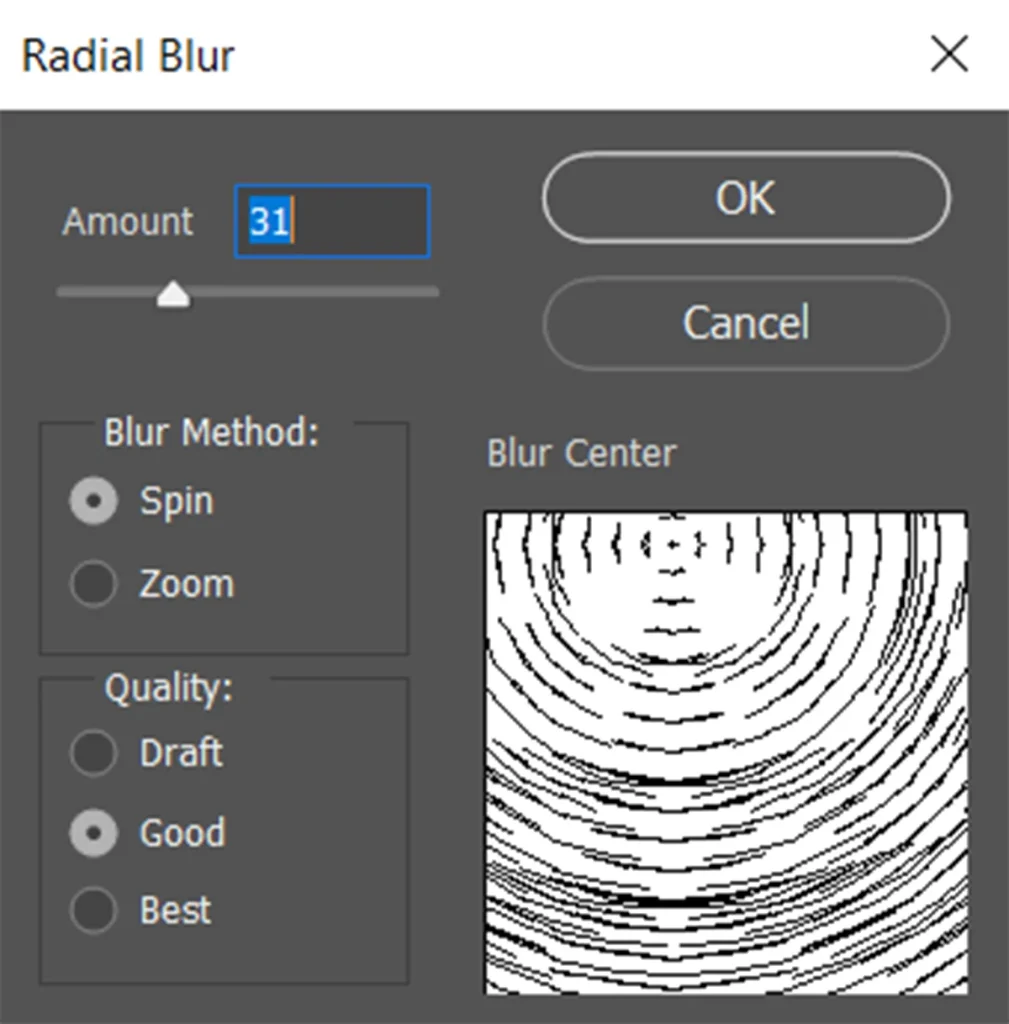
To create a light rays effect in Photoshop, apply a Radial Blur and observe the result. Check the definition of the light beams and ensure that the blur effect is caused by the main light source.
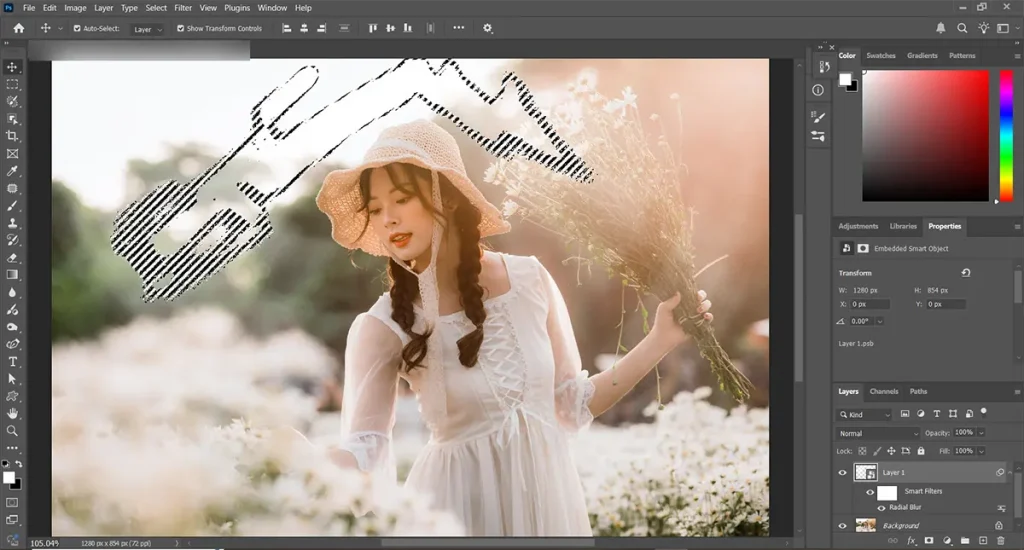
Create a Solid Color Fill Layer with a black setting behind the light ray Layer to make the effect more straightforward to see what the effect looks like.
You can easily return to previous edits by double-clicking the Smart Filter for the Radial Adjustment Layer, located beneath the Layer.
You could try duplicating the effect a few times to get the blur just right.
Set a suitable color for creating the light rays effect
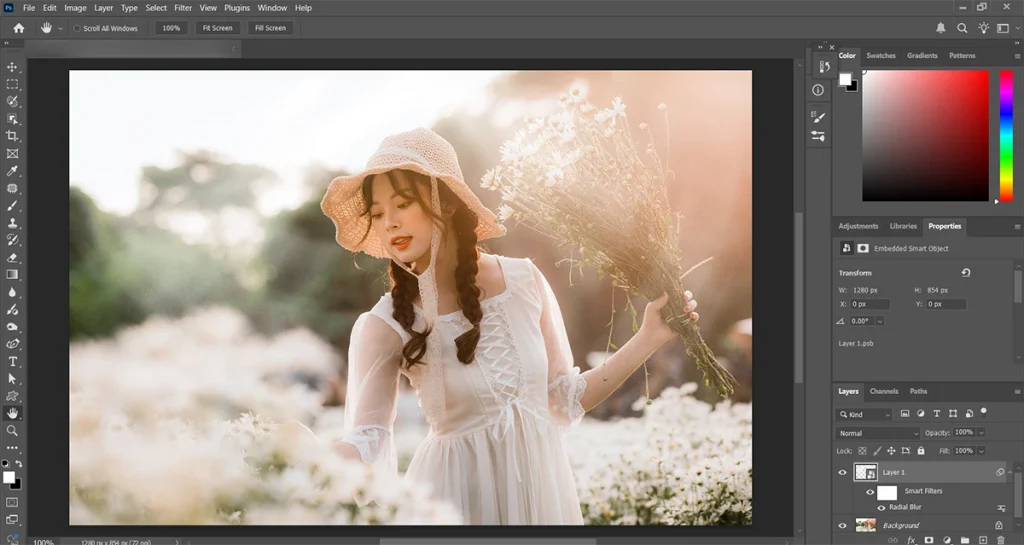
Now that the blur is good, let’s work on improving the color of the light rays effect. We want a wonderful golden tint when the sun is low.
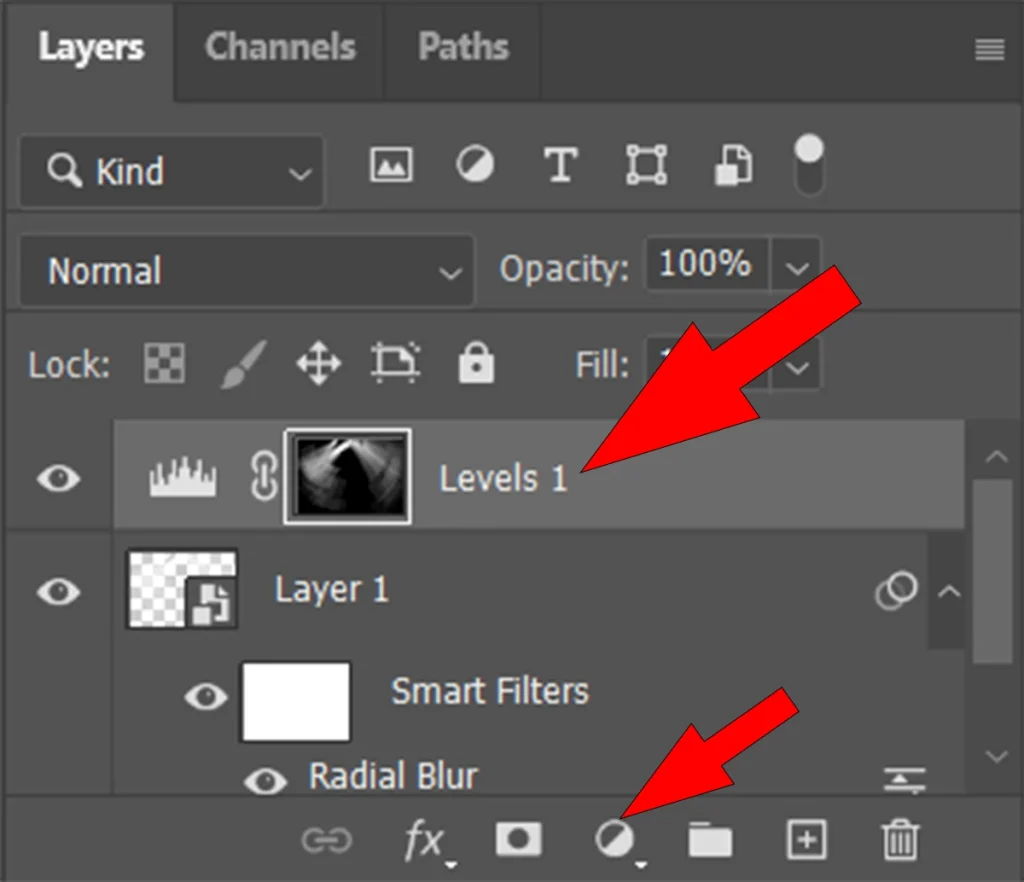
The painted and blurred area will serve as our light ray template, which we can then insert into a Layer Mask of a Levels Adjustment Layer. The Levels Adjustment Layer will be responsible for the final light effect.
To modify the color of the light effect, first select the light rays. To do so, hold down Ctrl and click on the Light Ray Layer.
This will generate a selection encompassing the contents of the Layer. We can now incorporate this option into the Layer Mask of a Levels Adjustment Layer.
You can visit Using Photoshop to Make a Fire Effect around the Text to read about more effects.
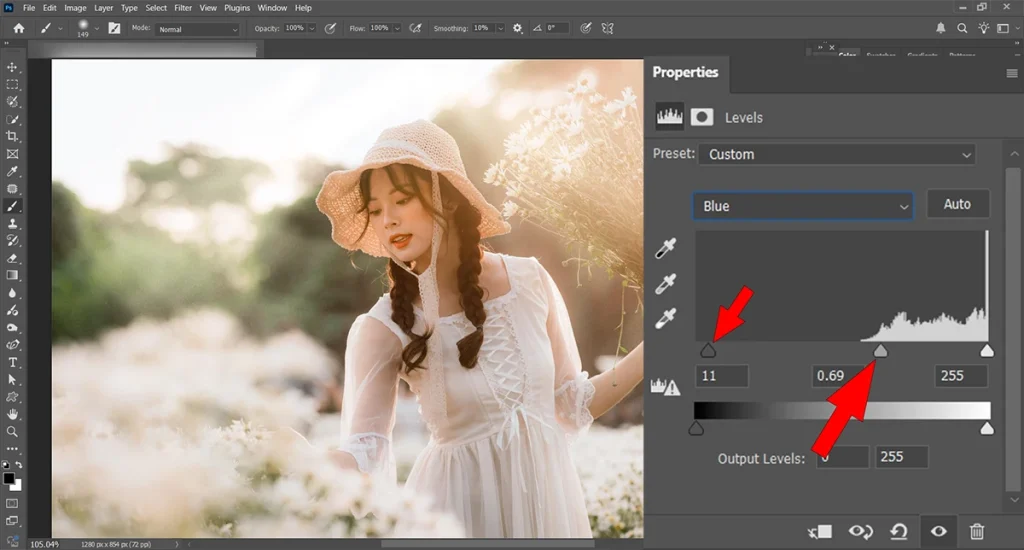
Create a Levels Adjustment Layer above the Light Ray Layer. Notice how the active selection is automatically loaded into a Layer Mask. Click on the Create new fill or adjustment layer button and then choose Levels
Levels allow you to change the highlight and shadow information in an image or layer. In addition, you can modify particular color channels. This will enable us to change the white lines to a warmer color. Based on my experience and depending on the colors in your image, the channel you start editing with may differ. I start with the Blue Channel and then proceed with the Red Channel, based on the colors in my image.
Please feel free to switch between the two as many times as necessary to get the desired look. The color should match the lighting in the photograph as closely as possible.
Optional edits to create light rays in Photoshop, depending on the elements of the photo
We can now add the finishing touches to make it look as genuine as possible, now that the main effect is finished. The light ray effect may still be too well-defined.
Paint on the Layer Mask of the Levels Adjustment with a soft, round Brush set to a low Flow to add more subtle patches of light and color. To further soften the look, you may also apply a radial blur to this layer.
The addition of a Gaussian Blur could make the effect seem more integrated with the original picture.
Adding noise to the light rays effect
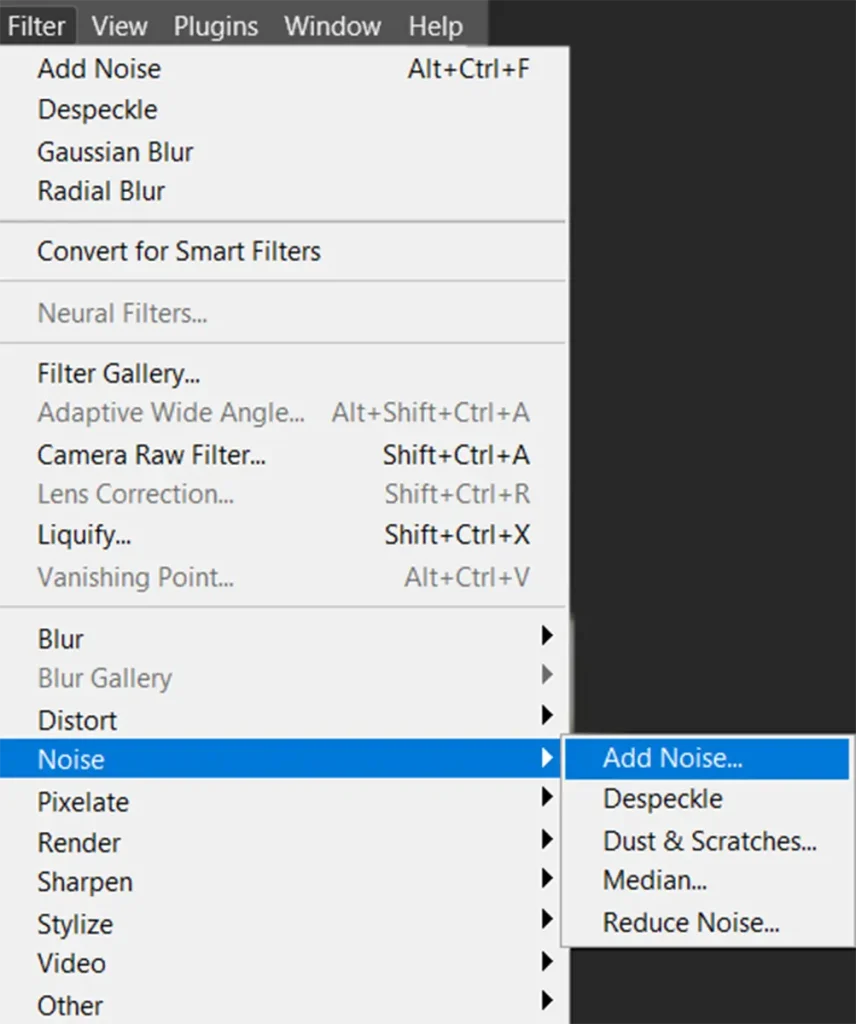
Finally, we need to add some noise to the light rays. Because noise is present in all images, the absence of noise in our effect indicates that it is a forgery.
Click on the Levels Adjustment Layer to access the Filter menu, then choose Noise and Add Noise. Set the noise level to closely approximate the noise in the original shot.

Sources
https://www.photoshopessentials.com/