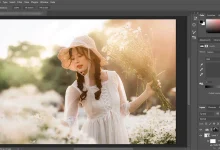
Let me demonstrate how to make a fire effect around text in Photoshop. This effect around letters is attractive and spectacular, and most people are usually unaware of how to create it. This file was utilized to maintain simplicity by focusing on a single character alongside a background. The final image presents a complete word that I constructed using the techniques illustrated in this video.
Topics
- Making effects on the text before adding fire
- First step creating a new layer
- Creating the path that will be followed by flame
- The Flame generator is your main tool to create a fire effect
- Hiding some parts of the fire effect behind the text
- Creating burn marks on text as a result of the fire effect
- Sources
Making effects on the text before adding fire
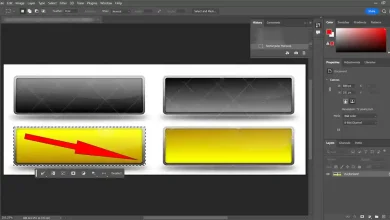
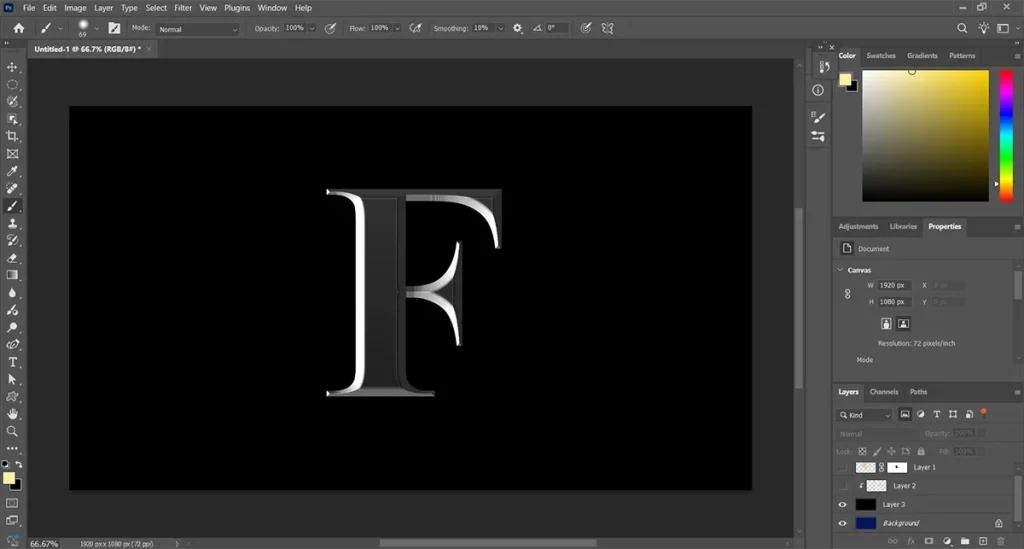
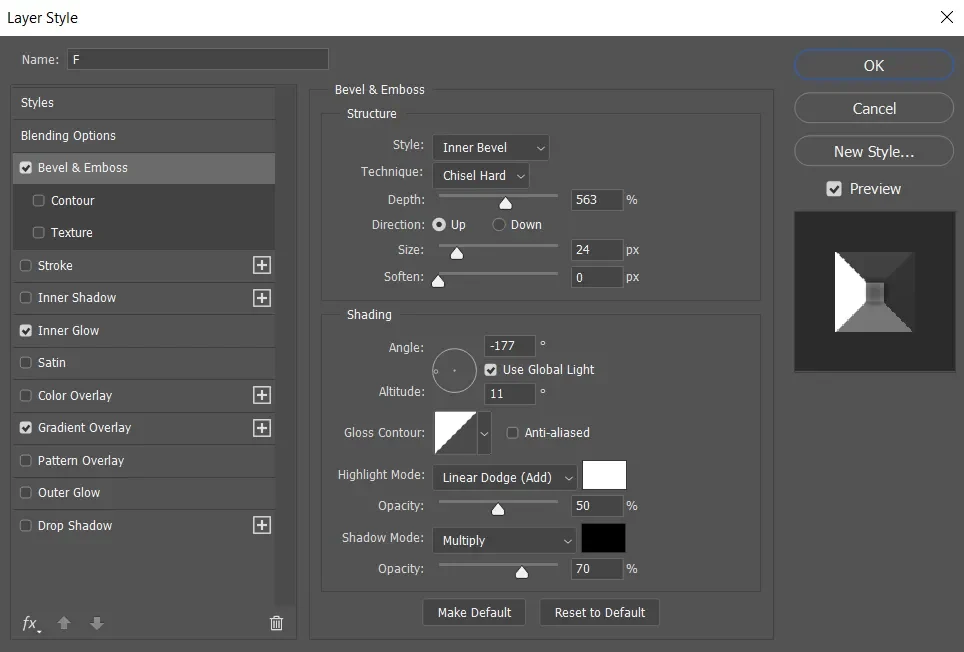
Before we begin, I would like to talk about the effect I applied to the letters before creating the fire effect. To achieve an impressive final result, avoid using simple letters. For example, I used the Bevel & Emboss, Inner Glow, and Gradient Overly effects, but you can use other effects and settings depending on your taste. For the background, I also liked the color black.
Please take a look at How to Create Cool Effects in Photoshop to read about more effects.
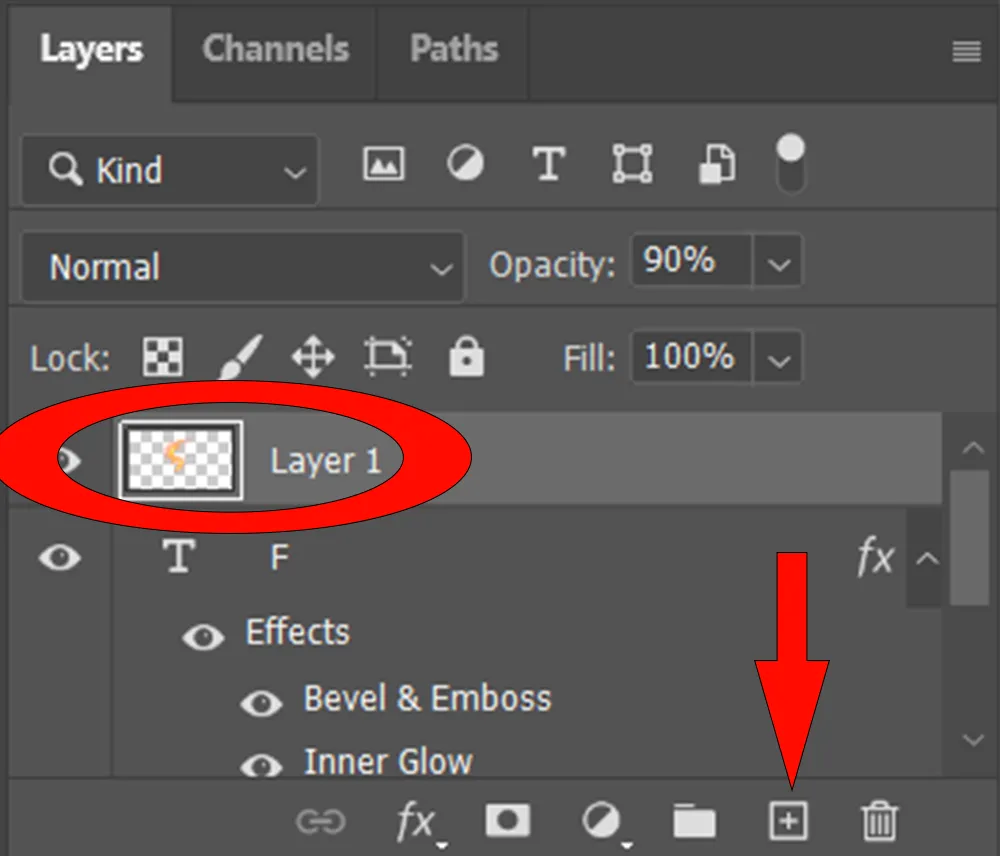
To make these effects, click on the right side of the Text Layer to open the Layer Style dialog box.
First step creating a new layer
To make flames or fire around text in Photoshop, you must first make a new layer on which to work destructively. By clicking on the Create a New Layer icon, a New Layer appears in the Panel.

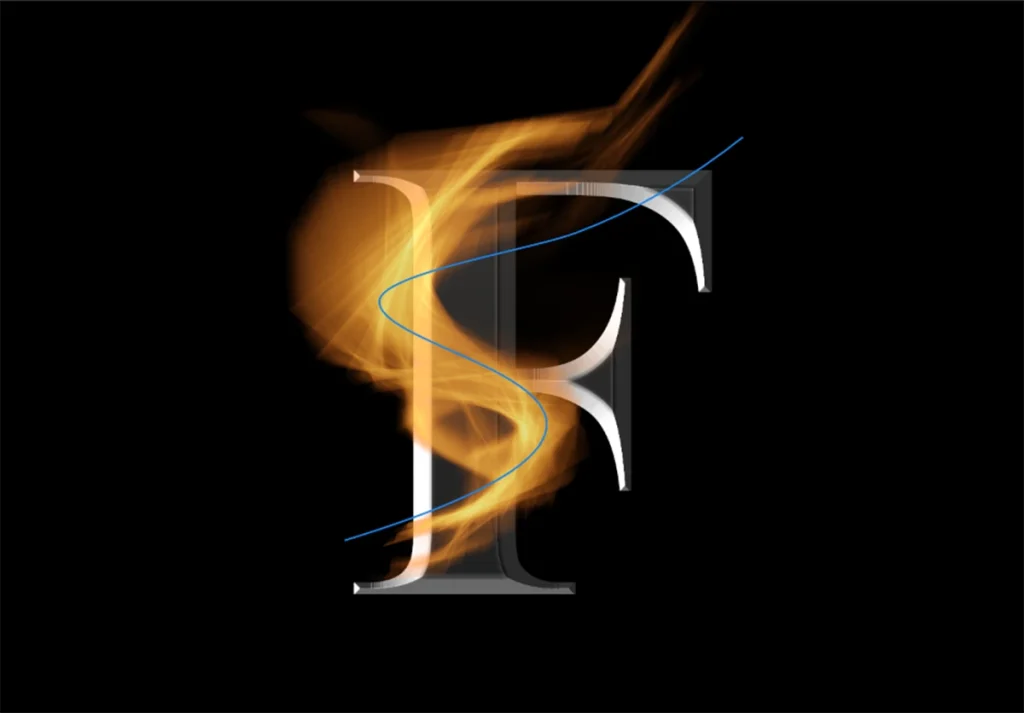
Creating the path that will be followed by flame
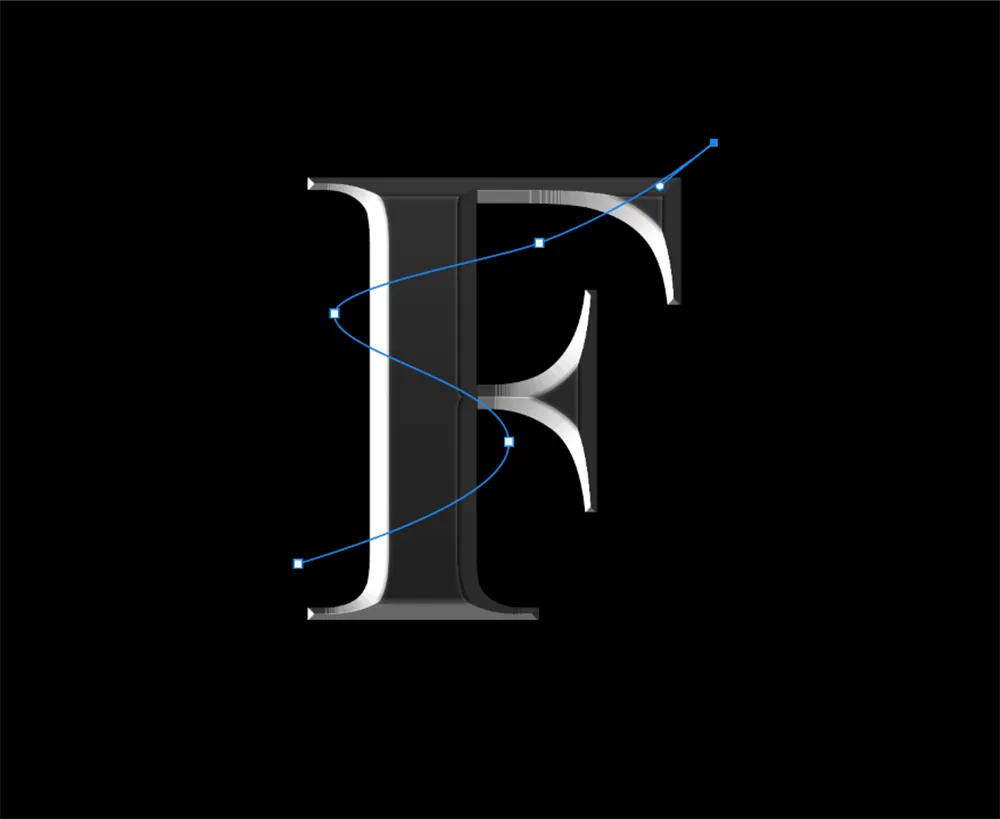
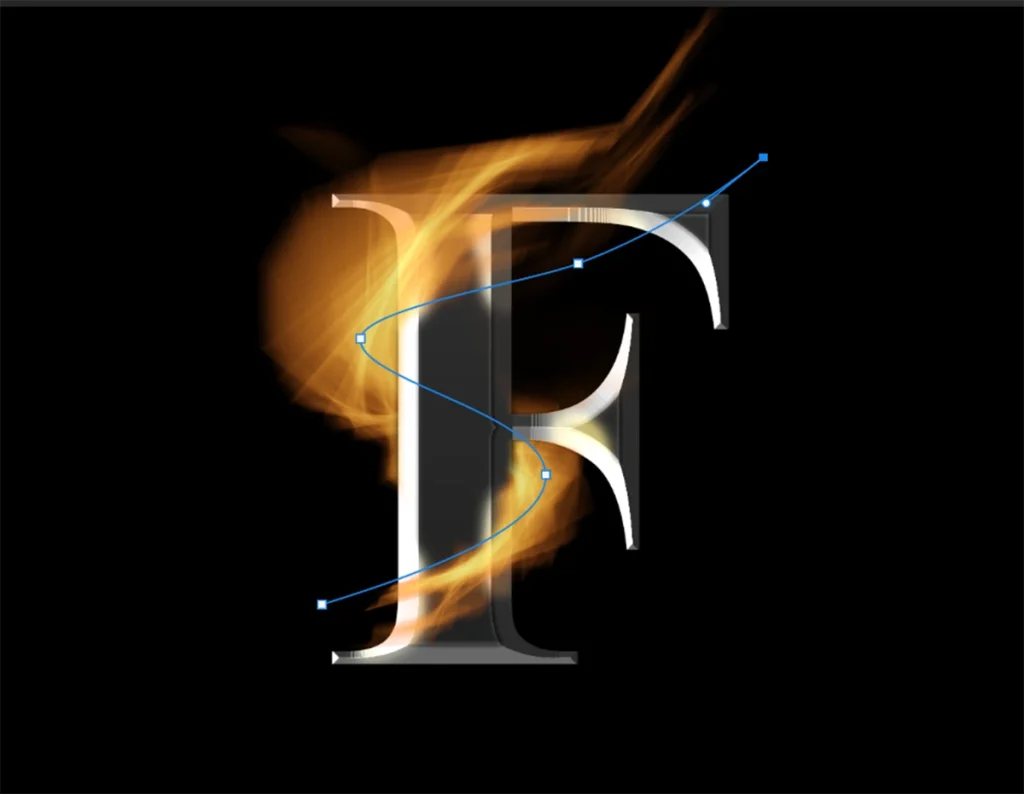
Next, use the Curvature Pen Tool or the Pen Tool to draw a path. I’ll use the Curvature Pen in this tutorial because I find it easier to use. Ensure you select ‘Path’ from the options box and then draw a path across your image; this is where the flame will follow.
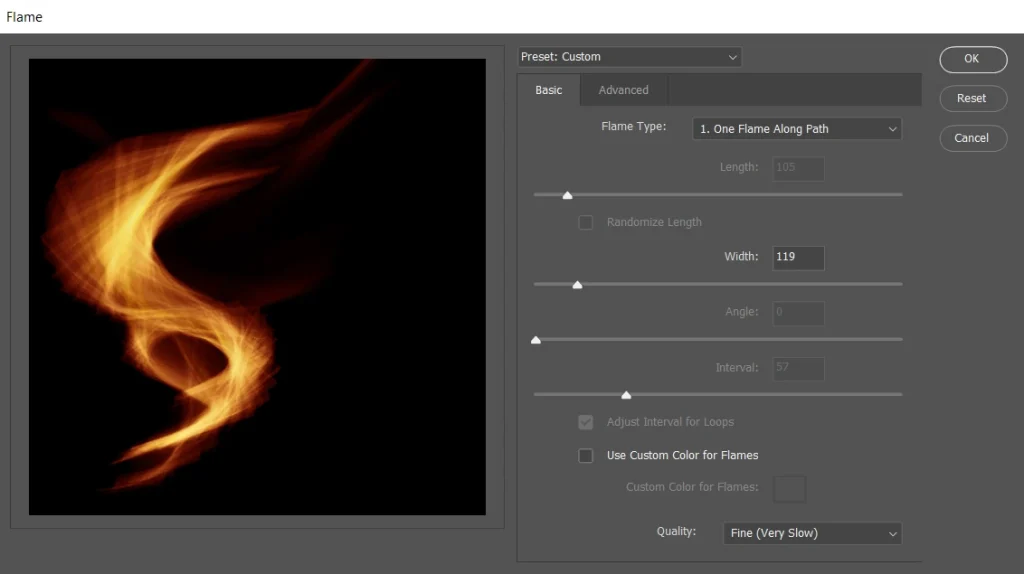
The Flame generator is your main tool to create a fire effect
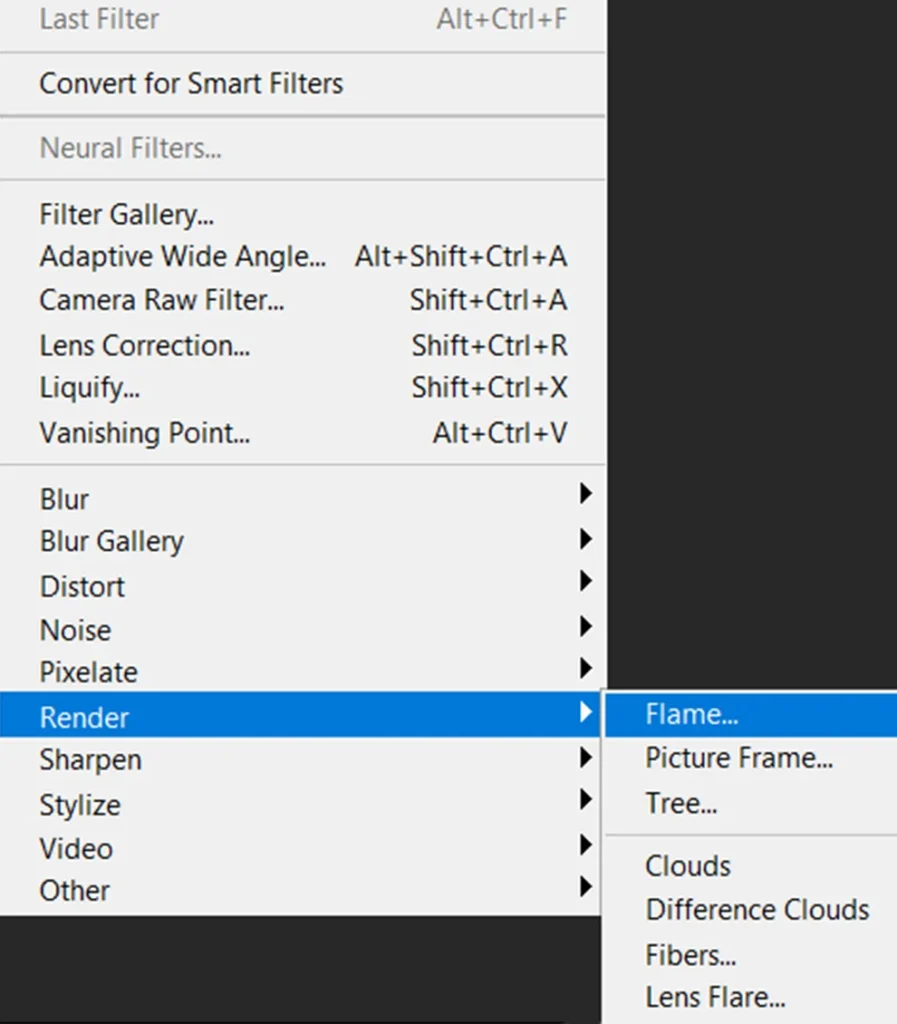
After ensuring that the newly created translucent layer is set to active, proceed to the filter render. A significant amount of time has passed since the Flame generator was first introduced in Photoshop. Not many individuals were aware of it.
As you can see, this panel is capable of generating flames. First, in the preview box on the left, select the flame type that functions with only one flame along the path.
Please don’t hesitate to explore the other options. You can use these sliders to adjust the flame. As you can see, the previous settings are not always entirely accurate; therefore, you may need to explore further.
Remember that you can access the Advanced Tab and make additional changes to the settings; these should work well for me.
So I’ll hit ‘Okay’ over the path we made, and it looks great. Next, I’d like to teach you some methods to make it appear to be the best.
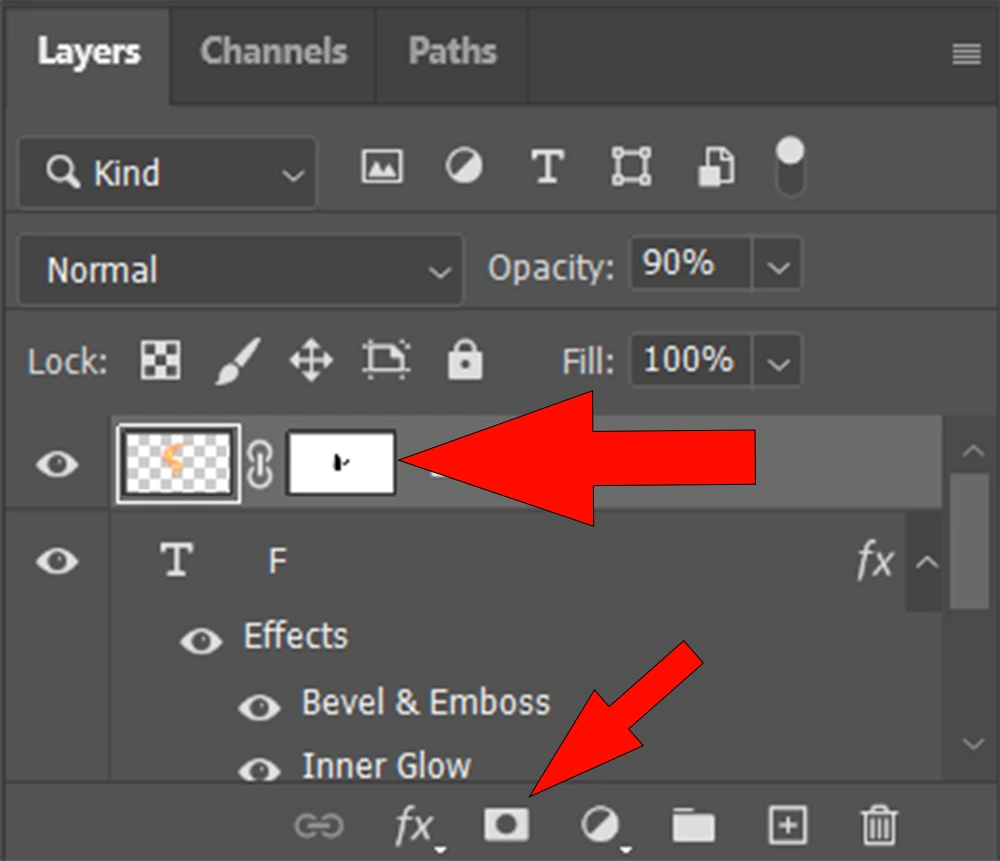
Hiding some parts of the fire effect behind the text
Interacting with the text layer begins by having the fire effect appear to wrap around the text.
First, select the Layer Mask icon to add a Layer Mask to the flame layer. Then, from the Toolbar, select the Brush Tool and set the foreground color to black.
I’d like you to visit ‘How To Make Water Reflection Effect‘ to read more about the effects.
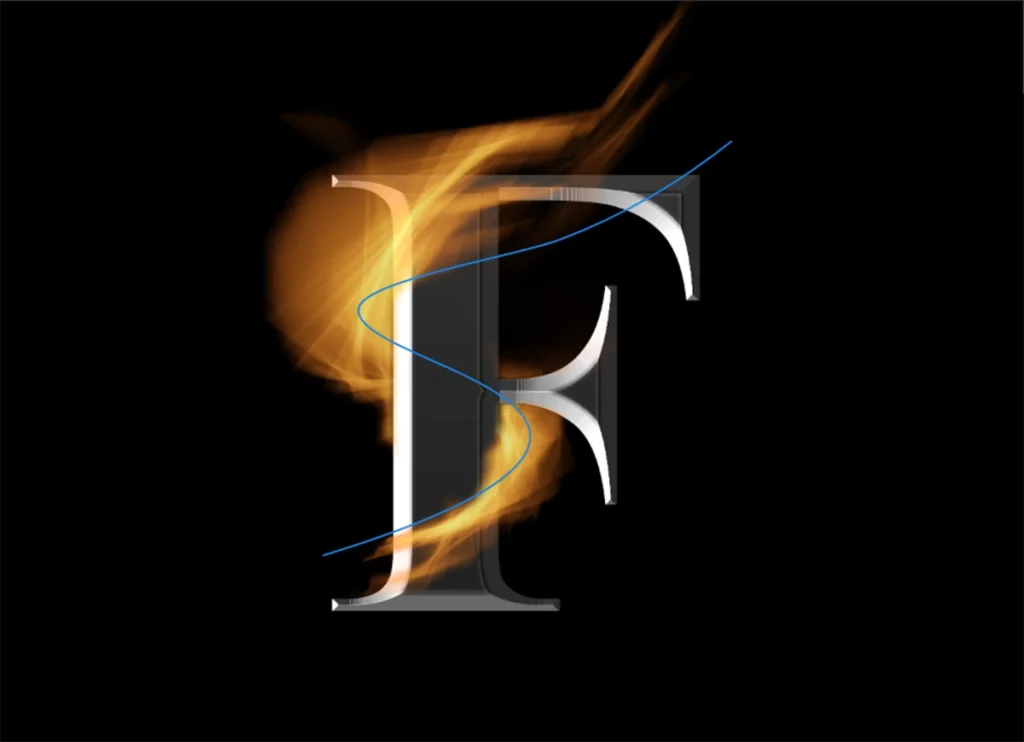
Black hides but white reveals. If you paint the Layer Mask black in this area of the flame layer, the fire will be hidden from view in front of the text. Making it appear to come up from behind and around the text.
Later, if I paint in white and black, I can switch between the two by pressing the X key.
Creating burn marks on text as a result of the fire effect
And we’re not finished yet. To add lighting effects to the text, create a New Layer above the text layer. To clip it to the layer below, press Ctrl+Alt+G on Windows or Command+Option+G on Mac. Now I can paint over the writing.
Please visit Using Photoshop to Create Light Rays Effect to learn more effects.
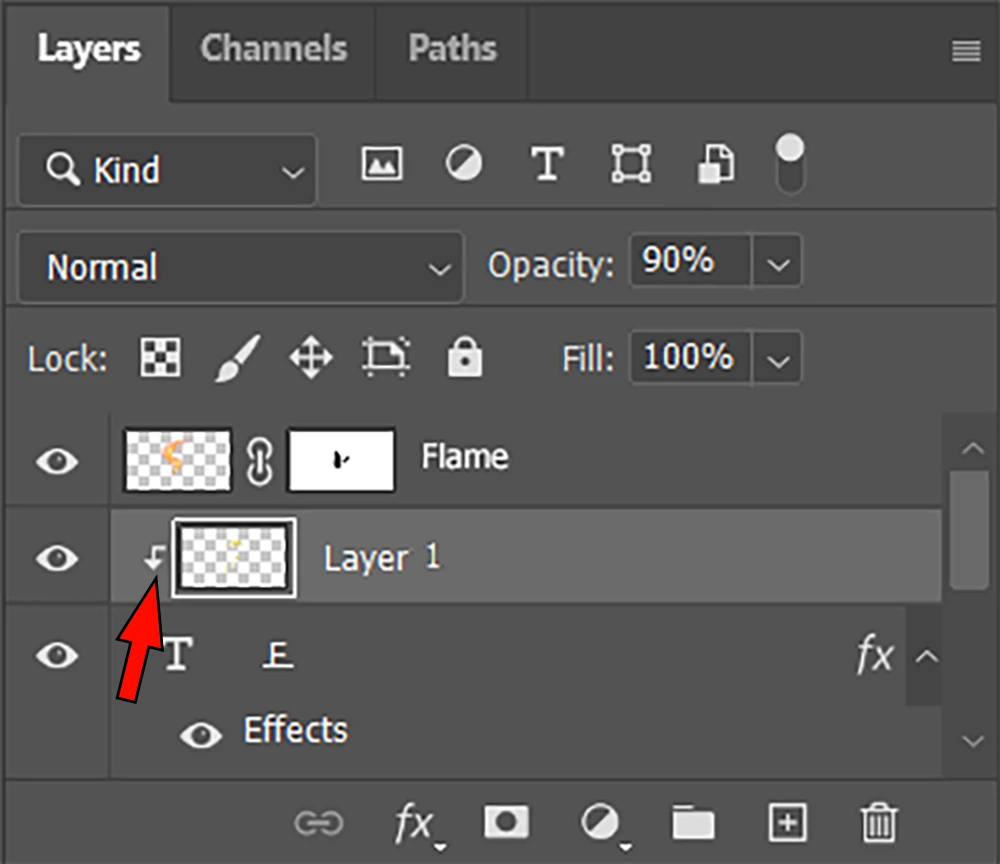
And that’s just because we clipped it, which is precisely why we wanted a clip layer in the first place: to paint over the text exclusively. If we didn’t have a clip layer, I would be painting elsewhere, which wouldn’t look good.
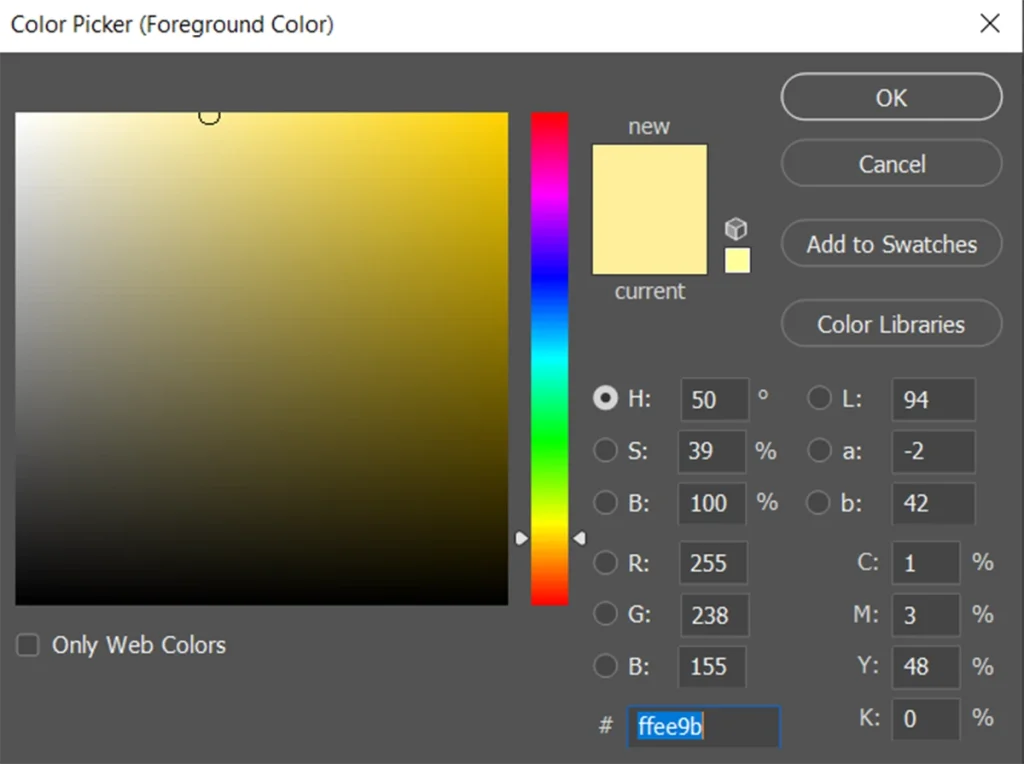
I’m going to paint it White, with a slightly yellowish tint. You can change the color to yellow, but please keep in mind what happens. The edges of the letter appear to have been burned by the flame, making it look more natural. You can alter the fill or opacity to minimize the intensity, and I can continue to paint on this or any other layer.
Sources
https://photoshoptrainingchannel.com/